Appearance
5. Custom BYO Models (Optional)
Optional Tutorial
These steps are not required for the quick start tutorial. However, if you are a keen developer and wish to build your own microservices with models, follow these steps.
Model Builder
Within the Modelling Development Kit (MDK), users have the ability to use the Model Builder to build your own models. This requires developer experience and knowledge.
What You'll Learn
- Create custom model microservices using Julia or Python
- Develop and test models locally
- Version bump services for deployment
- Build and deploy models to the Nexus
- Use custom models in MDK workflows
Supported Languages
We currently support two languages, with key frameworks:
- Julia - julialang.org
- Oxygen - OxygenFramework/Oxygen.jl
- SwaggerMarkdown - GenieFramework/SwaggerMarkdown.jl
- StructTypes - StructTypes.jl
- Python - python.org
- FastAPI - fastapi.tiangolo.com
- Pydantic - docs.pydantic.dev
- Go - TBC
Development Process
The development process involves:
- Using the MDK to generate a boilerplate for the model collection (microservice).
- In an IDE, writing the input, parameter and output types for each new model route.
- In an IDE, writing the implementation and initialisation for each new model route.
- Testing in a locally run terminal / REPL.
- Version bump the service if changed any model types, logic or made new models.
- Building and deploying to your local environment.
- Testing and using the new model in the MDK Workflow Builder within a workflow.
Assumptions and Limitations
- Users should not tinker or edit any generated files.
- These usually sit under:
/build/src/generated
- Changing these files may affect the model's ability to integrate with the OR SDK MDK. The boilerplate is an important structure including the frameworks the OR SDK MDK needs to create seamless workflows and integrations between models.
- These usually sit under:
- Users cannot drag and drop their own models into the MDK currently. Instead, users are encouraged to port their model logic and build the model implementation within an OR model boilerplate.
- Users are able to add additional dependencies to the service, however, should not change any existing dependencies from the boilerplate.
- Source control and proper version management is not in place at this stage, hence, users should assume to work off a single iterating version.
Quick Guide
Creating the Custom Model Microservice (Model Collection)
Navigate to the MDK Model Builder
- The MDK must be initialised and running before you can create custom models.
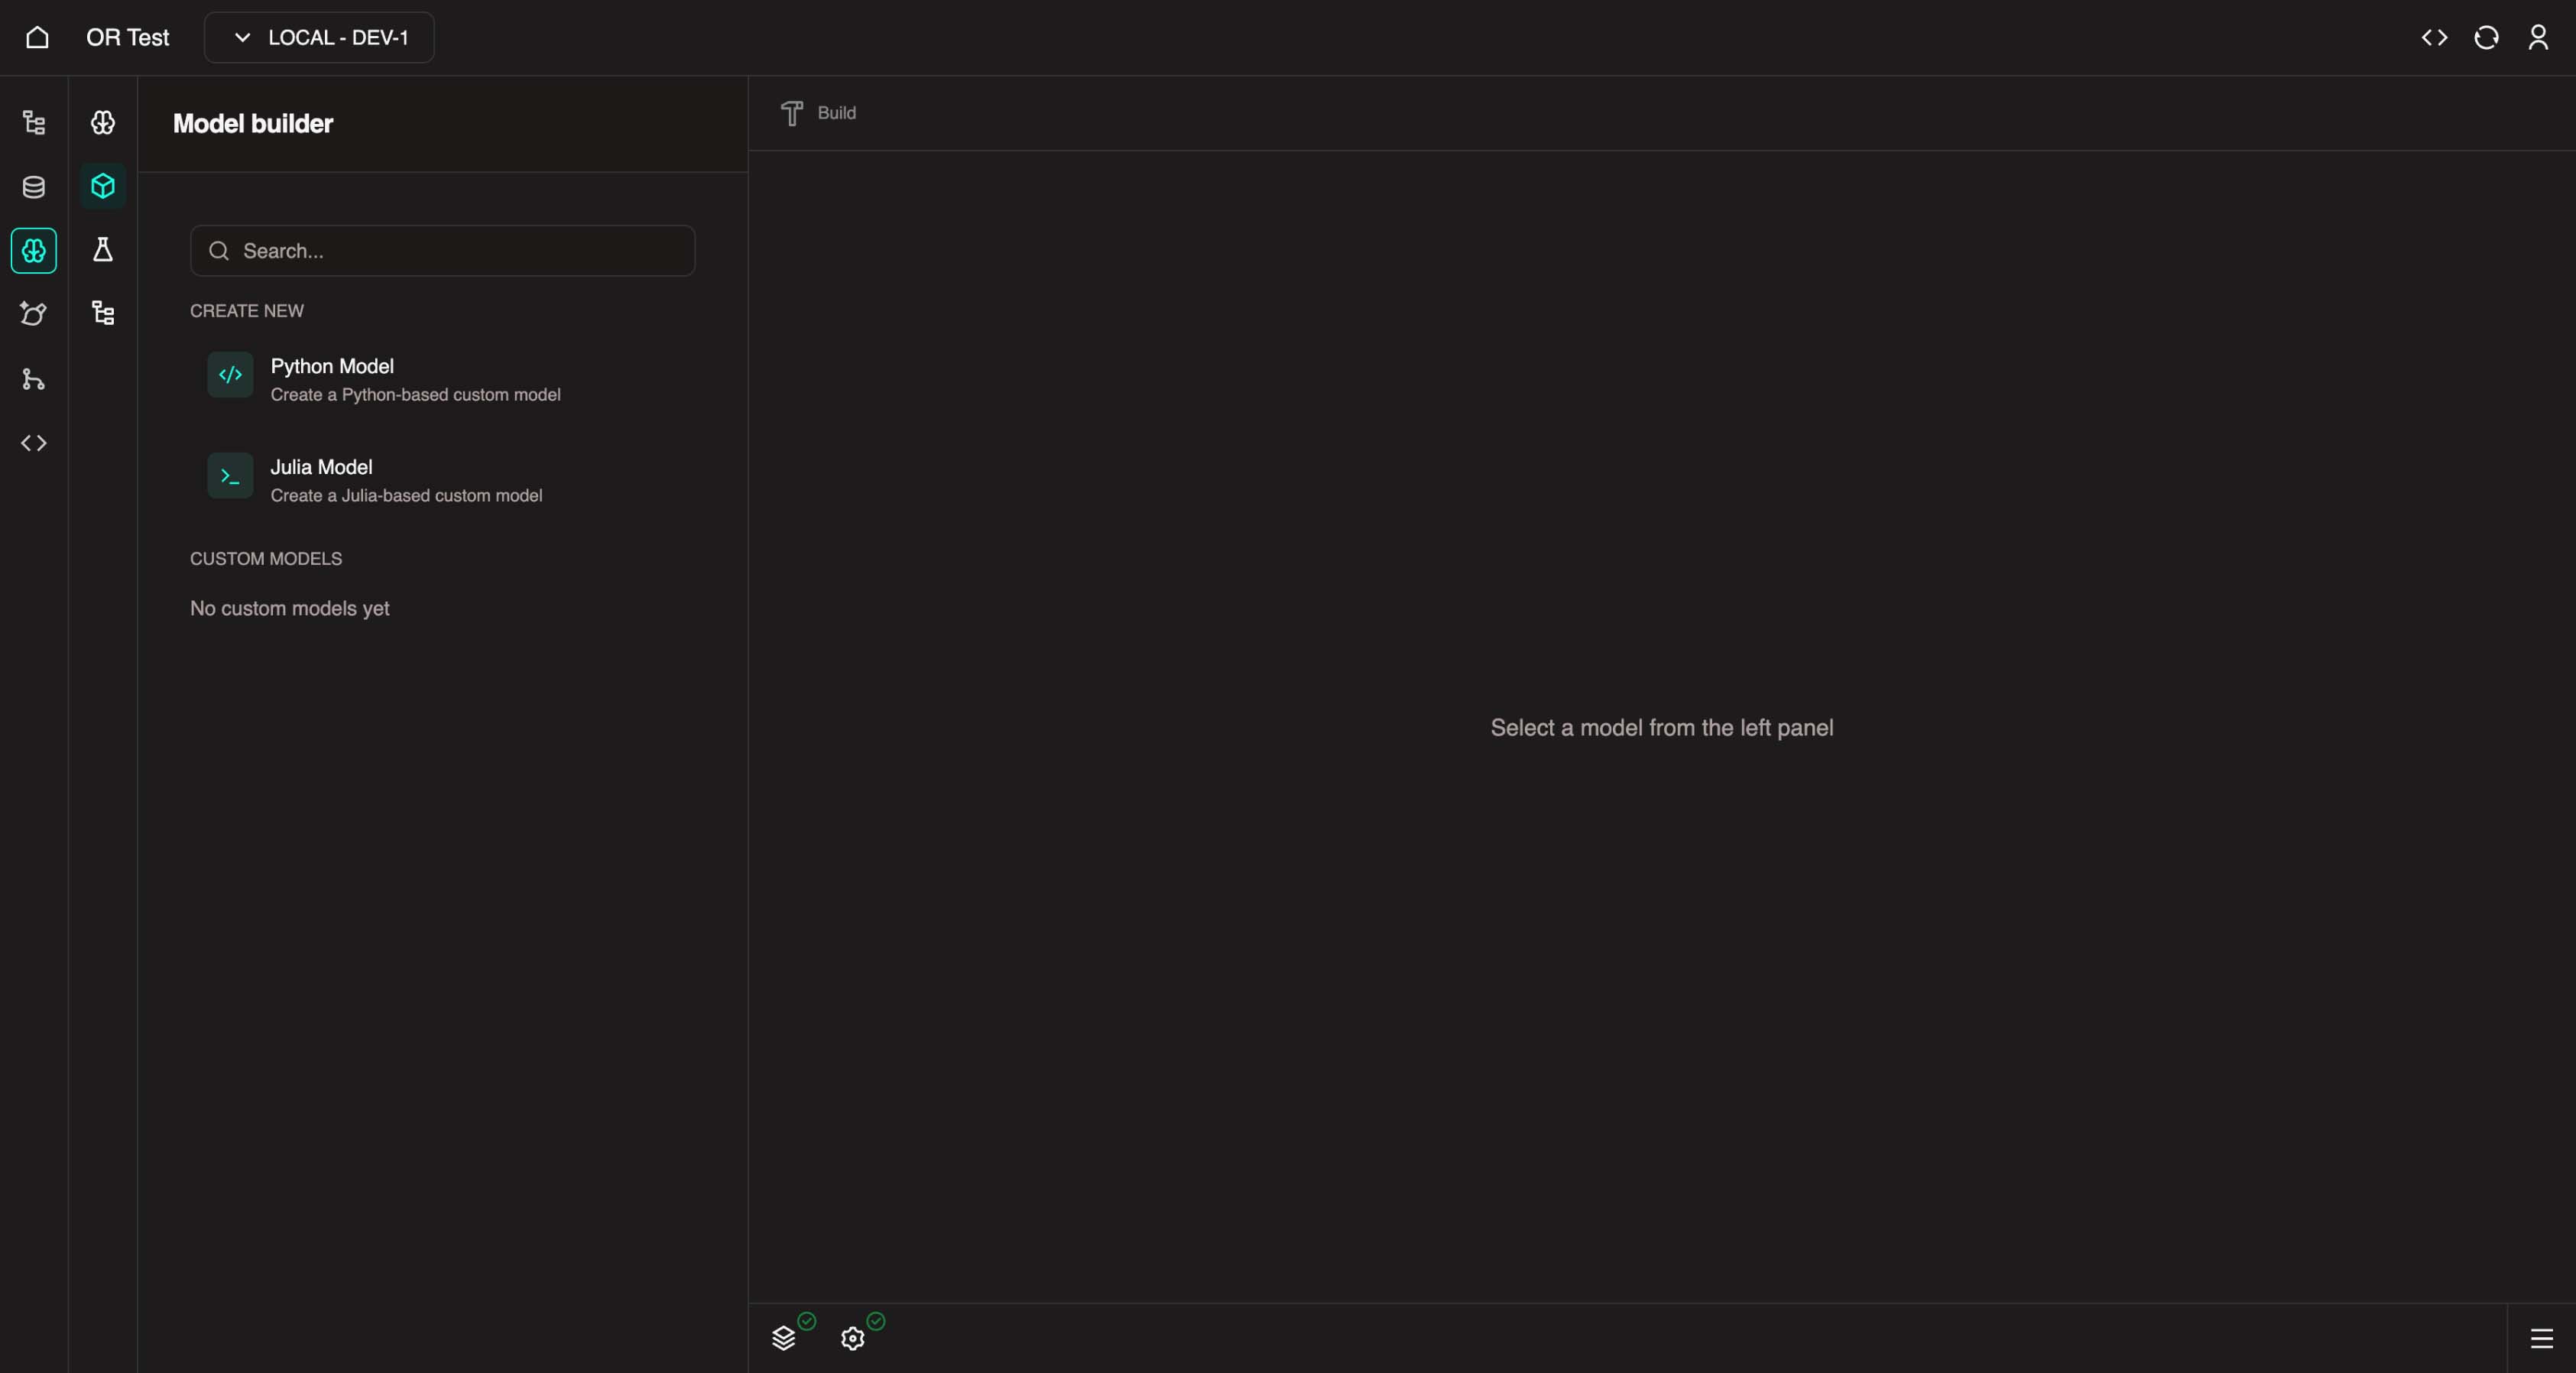
In the left panel, under Create New, you can select one of the available model templates (Julia or Python) to create a custom model..
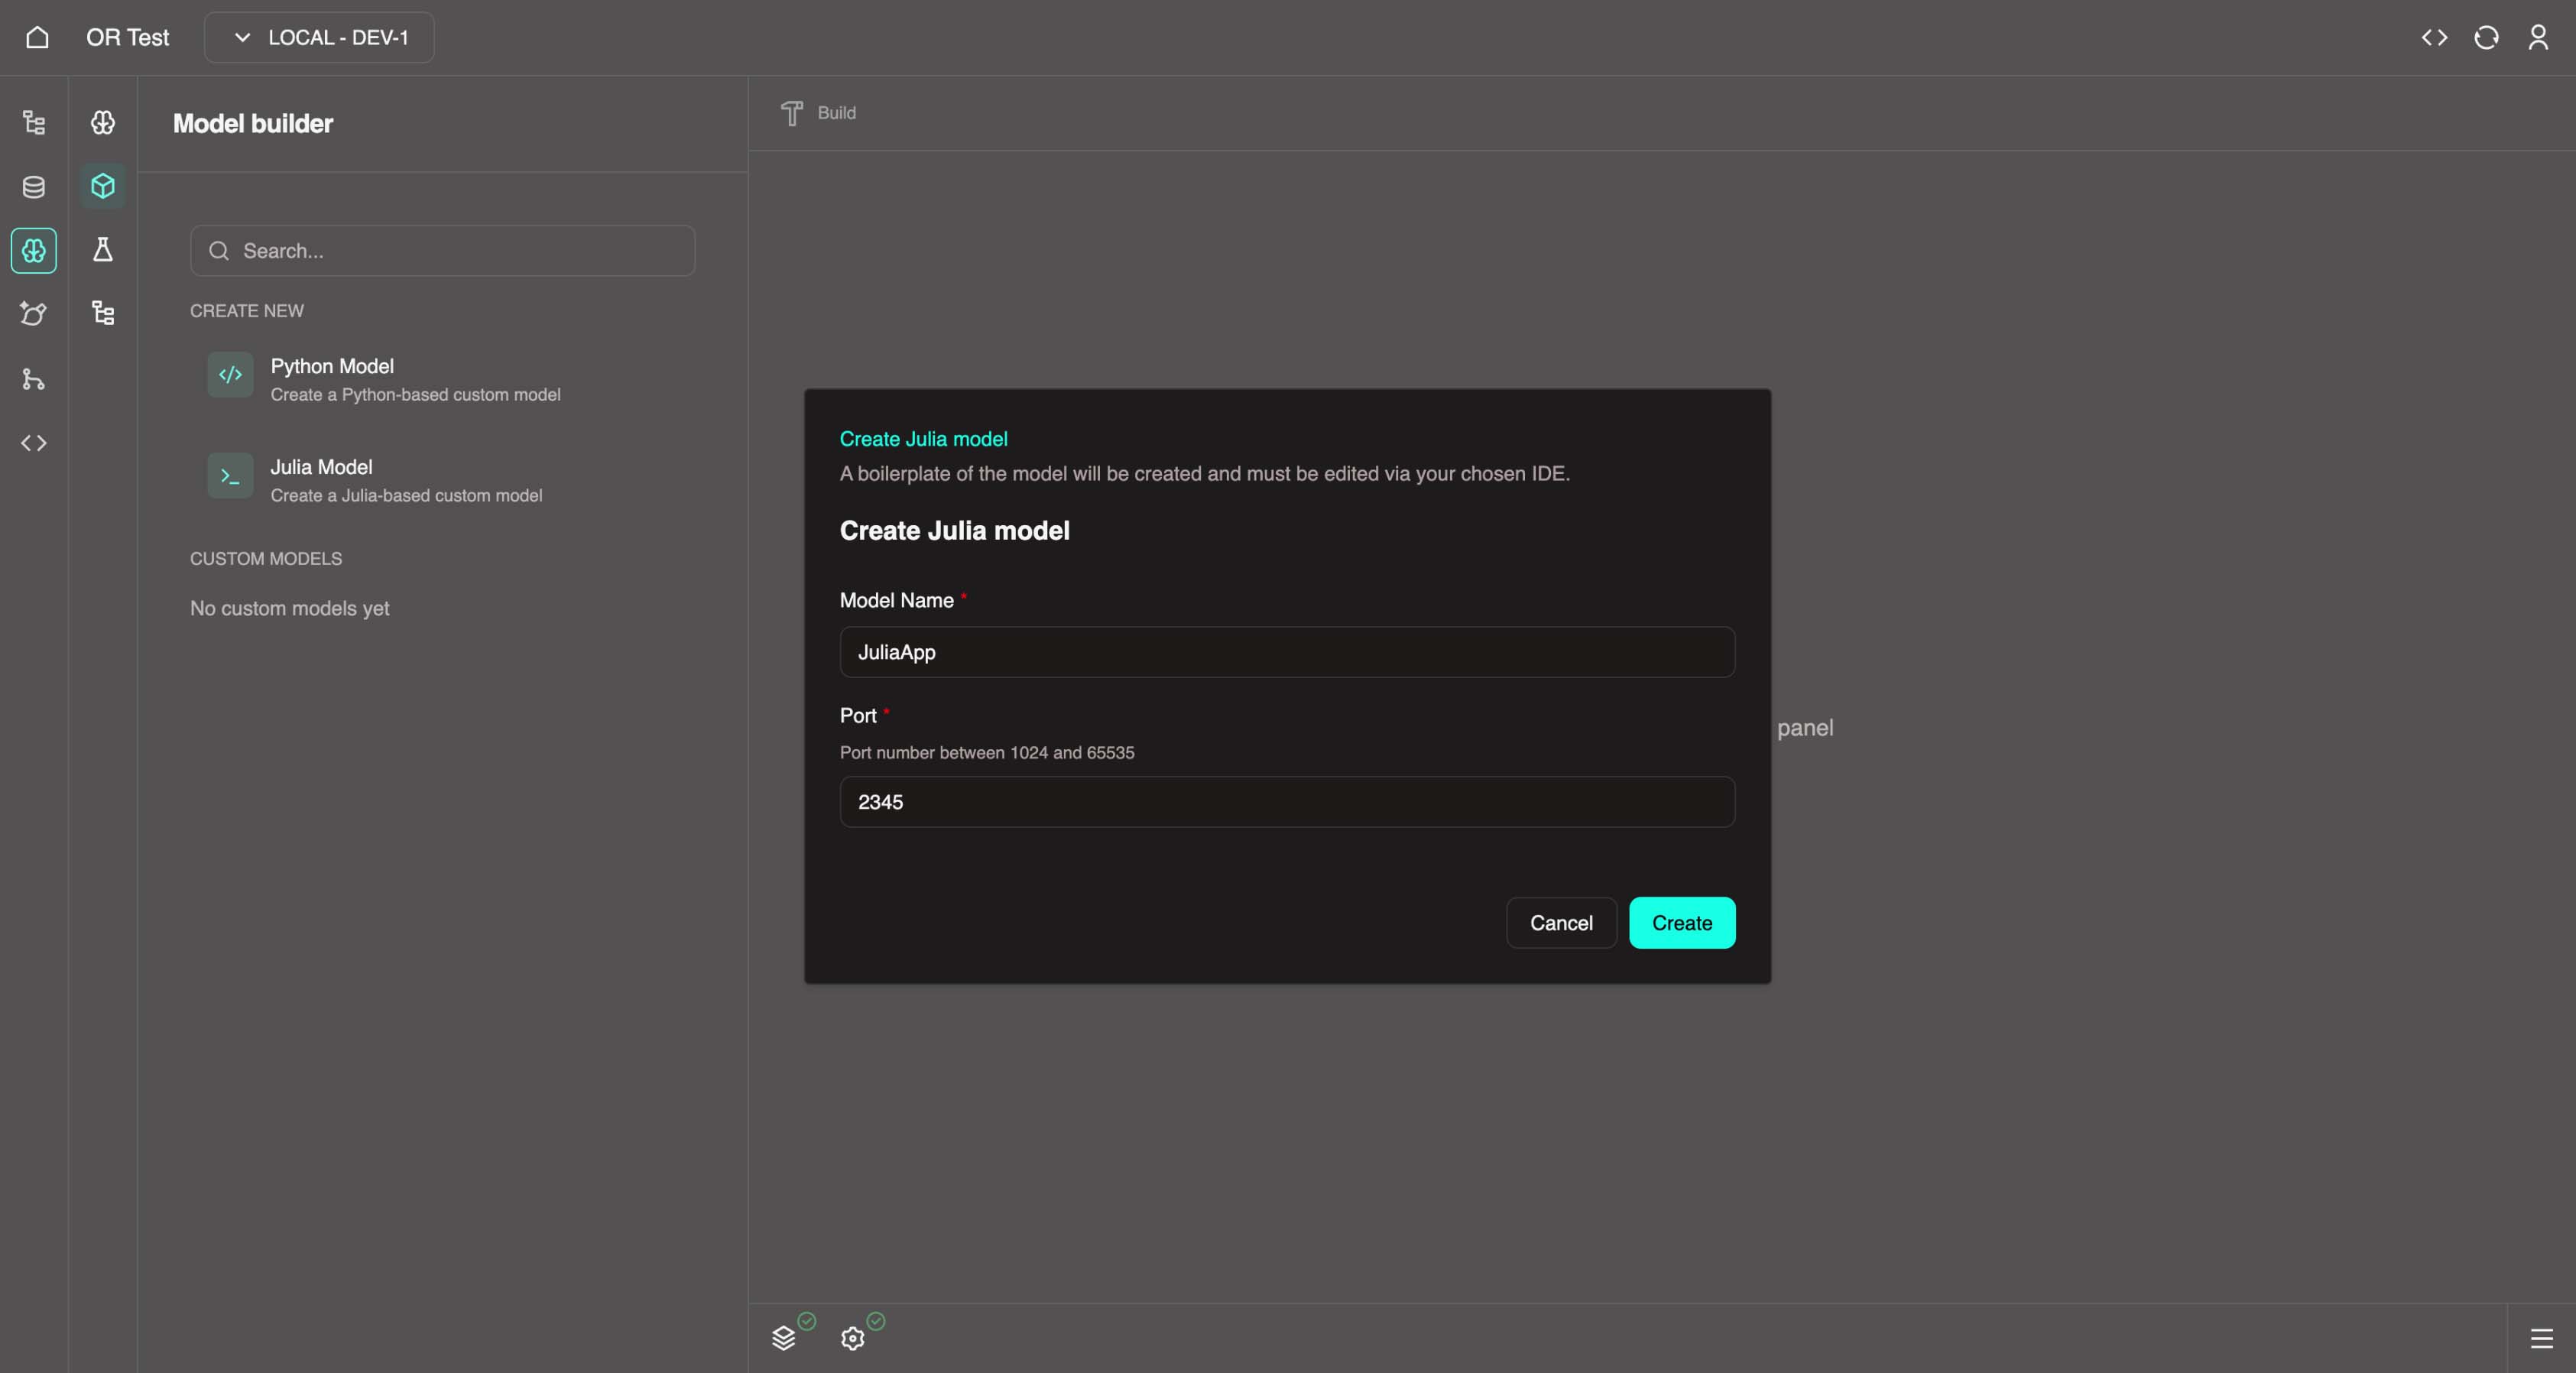
Give it a name and port, then click Create
- Name must contain only alphabetical characters with no spaces.
- PascalCase is fine, i.e.
JuliaApp&PythonApp.
Developing the Model
As this is a custom model, you need to write the code for it in order to develop it. Navigate in a new tab to: https://web.core.optimalreality.com/code/?folder=/home/sdk-user/or/OrProjects/
By default VSCode should open at the
OrProjectsfolder, however if not there, please use the VSCode File > Open Folder to navigate to your project.Navigate to your custom model in the Explorer and open the
README.mdat the root of your custom model boilerplate. Please read it to understand the expectations for development.Example paths:
/home/sdk-user/or/OrProjects/ordemo/pythonapp/README.md/home/sdk-user/or/OrProjects/ordemo/juliaapp/README.md
Julia README
This is a boilerplate generated template for a Julia modelling application for your Optimal Reality project. It contains the necessary files and structure to get you started with building your Julia model.
WARNING: You do not need to modify anything in
src/generatedorsrc/JuliaApp.jlunless you want to implement any advanced features.
Frameworks
- Oxygen.jl - Julia framework for building HTTP web servers (GitHub)
- SwaggerMarkdown.jl - Documents the web server into an OpenAPI 3.0 specification file for use within the Optimal Reality platform (GitHub)
Getting Started - Creating a New Model
The 4 step process to create a new route to expose models is as follows:
Create a
src/types/<function_name>.jltype definition file. This file needs to contain:- An input definition struct
- An output definition struct
- A response definition struct
Call the
@dal_wrappermacro in theDAL WRAPPERSsection insrc/routes/init.jl.- This is in global scope on purpose as this macro creates wrapper functions at compile time to assist with manipulating of data to conform with the data abstraction layer (DAL).
- It also registers the model types for swagger documentation.
Call the
@create_routemacro inside theinit_routes()function ofsrc/routes/init.jl.- This must be called during runtime as it mutates application memory.
- It will create a POST route for the provided endpoint.
- It will also register the swagger documentation for the new post route.
Implement the function at
src/implementation/<function_name>.jl. The signature of the implementing function MUST be:julia<function_name>(input::T, params::U, output_path::OROperatorOutputPath)::ORHttpResponse{V}Where:
Tis the input type from step 1Uis the params type from step 1Vis the response type from step 1
Usage
To run the server, open a Julia REPL in the root directory of the project and run the following commands:
julia
julia> using Pkg
julia> Pkg.activate(".")
julia> Pkg.instantiate()
julia> using JuliaApp
julia> JuliaApp.run()
The server will be running on http://localhost:2345 by default.
- You can access Swagger OpenAPI 3.0 schema docs and the request tester in the browser at
http://localhost:2345/docs.
Example
An example endpoint has been created in the template project called hello_world. The following files had to be updated to create the endpoint:
src/types/hello_world.jlsrc/implementation/hello_world.jlsrc/routes/init.jl
Testing
Some tests are written for the generated utils and the example endpoint. Run the tests using the following command:
julia
julia> using Pkg
julia> Pkg.activate(".")
julia> Pkg.instantiate()
julia> ]
JuliaApp pkg> test
Python README
This is a boilerplate generated template for a Python modelling application for your Optimal Reality project. It contains the necessary files and structure to get you started with building your Python model.
WARNING: You do not need to modify anything in
src/generatedorsrc/PythonApp.pyunless you want to implement any advanced features.
Frameworks
- FastAPI - Python framework for building HTTP web servers (GitHub)
Getting Started - Creating a New Model
The 4 step process to create a new route to expose models is as follows:
Create a
src/app_types/<function_name>.pytype definition file. This file needs to contain:- An input definition class
- An output definition class
- A response definition class
Call the
dal_wrapper()macro in theDAL WRAPPERSsection insrc/routes/__init__.py.- This is in global scope on purpose as this macro creates wrapper functions at compile time to assist with manipulating of data to conform with the data abstraction layer (DAL).
- It also registers the model types for swagger documentation.
Call the
create_route()macro inside theinit_routes()function ofsrc/routes/__init__.py.- This must be called during runtime as it mutates application memory.
- It will create a POST route for the provided endpoint.
- It will also register the swagger documentation for the new post route.
Implement the function at
src/implementation/<function_name>.py. The definition of the implementing function MUST be:pythonasync def <function_name>(req: ORHttpRequest[T, U]) -> ORHttpResponse[V]Where:
Tis the input type from step 1Uis the params type from step 1Vis the response type from step 1
Usage
To run the server, open a terminal in the root directory of the project and run the following commands:
bash
make install
make run
The server will be running on http://localhost:3241 by default.
- You can access Swagger OpenAPI 3.0 schema docs and the request tester in the browser at
http://localhost:3241/docs.
To update dependencies, update them in the pyproject.toml file, then run:
bash
make lockOnce done with local testing, run the following command to remove the virtual environment for deployment:
bash
make cleanRunning and Testing
Open a terminal and run the model:
Julia:
juliajulia> using Pkg julia> Pkg.activate(".") julia> Pkg.instantiate() julia> using JuliaApp julia> JuliaApp.run()Python:
bashmake install make runTesting via the Swagger web interface:
- Depending on the port your model is running on, replace
1234with it:- https://1234.web.core.optimalreality.com/docs
- If you get redirected to login, copy in / type the URL in manually from an active logged in OR SDK tab.
- This is a Swagger URL to access the docs to test your model endpoints.
- Depending on the port your model is running on, replace
Version Bump
Once you have developed and tested your service, you are ready to version bump it to test out the new version in the MDK.
The version file for each language boilerplate can be found in:
| Language | Version File Path |
|---|---|
| Python | ordemo/pythonapp/PythonApp/pyproject.toml |
| Julia | ordemo/juliaapp/JuliaApp/Project.toml |
Each model version starts off as 0.1.0, using semantic versioning.
Semantic Versioning
Semantic Versioning is an easy-to-follow standard for versioning software using a MAJOR.MINOR.PATCH format, like 1.2.3.
- Increment the MAJOR version for breaking changes that require effort to make your code compatible.
- Increment the MINOR version for backward-compatible new features.
- Increment the PATCH version for backward-compatible bug fixes.
If you have not built or deployed this model before, you can keep it on the 0.1.0 for its first deployment.
If you have already deployed this model before, and have now made changes to it (i.e. new models or changed types), you must version bump it.
- i.e.
0.1.0→0.2.0 - Version bumping like this will inform the MDK to load in the new version to get the new types and models for use in the Workflow builder.
- If you do not version bump, the new model version will not be detected or loaded in the MDK (previous version will be reused).
Make the version change in the .toml file(s) and return back to the MDK for building and deployment.
Building and Deploying
In the MDK Model Builder, select the model you wish to build in the left panel, and click the Build button in the center top (Hammer icon). Read the confirmation and then click Build.
Wait for the task log for the build to be successful.
Go to Nexus, click Deploy in the bottom left, select your custom model image, click Next, and then Deploy.
Wait for your model to deploy and come up as healthy in the Nexus. This can take up to 1 minute for Python, and 5 minutes for Julia (pre-compilation takes time).
Once healthy, you can return to the MDK Workflow Builder. It will take a few seconds to initialise the model collection and nested models if the pod is healthy.
Model Initialization
If the pod is not healthy, the MDK will wait for around 30 seconds to check for pod healthiness. If it doesn't come healthy in that time, it'll skip the init process for that model. You may go to Nexus to check for healthiness, then return to the MDK to try the init again.
Note that once a model version has been initialised in the MDK, you cannot reinitialise it again (new version bump is required).
Once initialised, your new model(s) will appear in the Components list as models you can use in workflows.
You can now create a workflow or reuse an existing workflow to utilise your custom model. Add dependencies as you require them and change inputs/configurations of each task. Test execute to test your model out in the MDK.
Feedback Welcome
Note that we are still refining the developer and user experience for this feature. If you have any feedback, questions, or issues, please raise it with us and we'll be happy to review it! This is still early days for the MDK Model Builder, and the main aim is to enable developers to have the freedom to code and develop services & models as they traditionally would.
The powerful thing to keep in mind is the instant compatibility your models have with the MDK workflow builder where you can plug and play models together and orchestrate integrations in a no-code approach. These models also become deployable in the Nexus with all the added benefits for live telemetry and logs.
Next Steps
You've completed the optional custom model tutorial. Return to the main quick start guide or explore advanced topics.