Appearance
1. Create a New Project
Getting Started
A project in Optimal Reality represents a single environment where you can build and deploy multiple applications. For example, you might have one project for a client where you connect their data and build several applications to address different user needs.
What You'll Learn
- Create a new project with proper naming conventions
- Navigate to the Nexus environment
- Access the Data Development Kit (DDK)
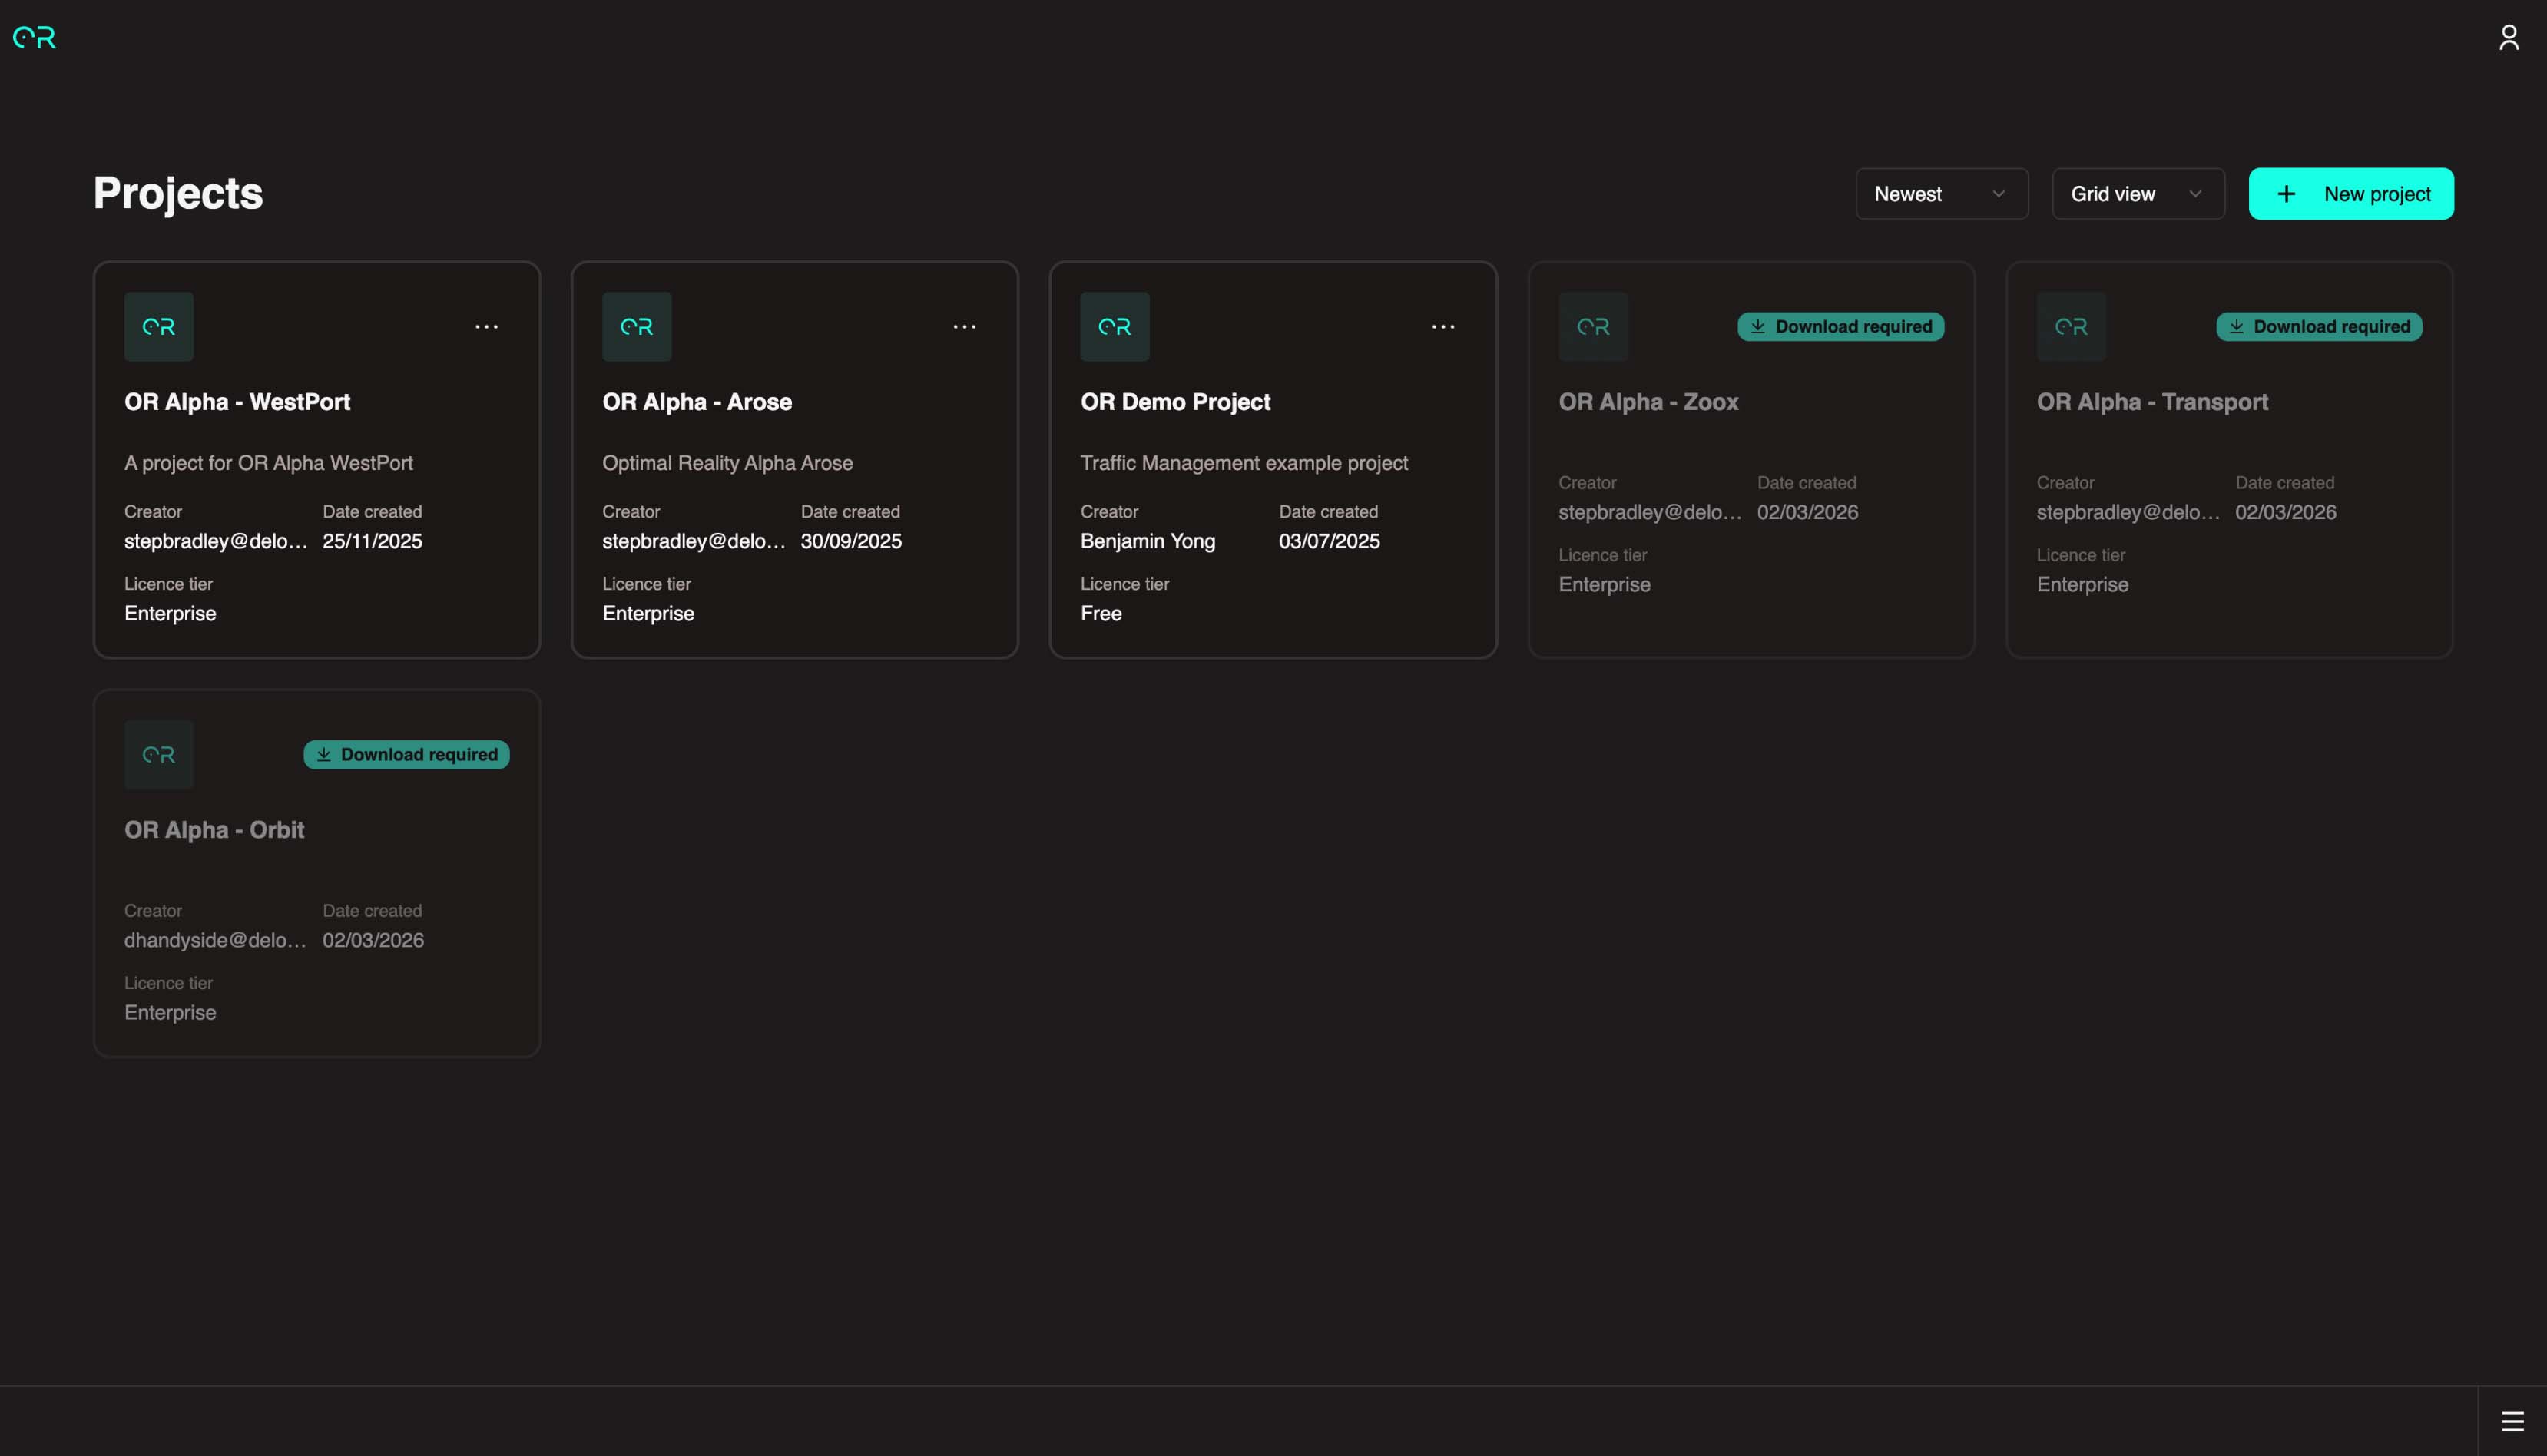
1.1 Create a New Project
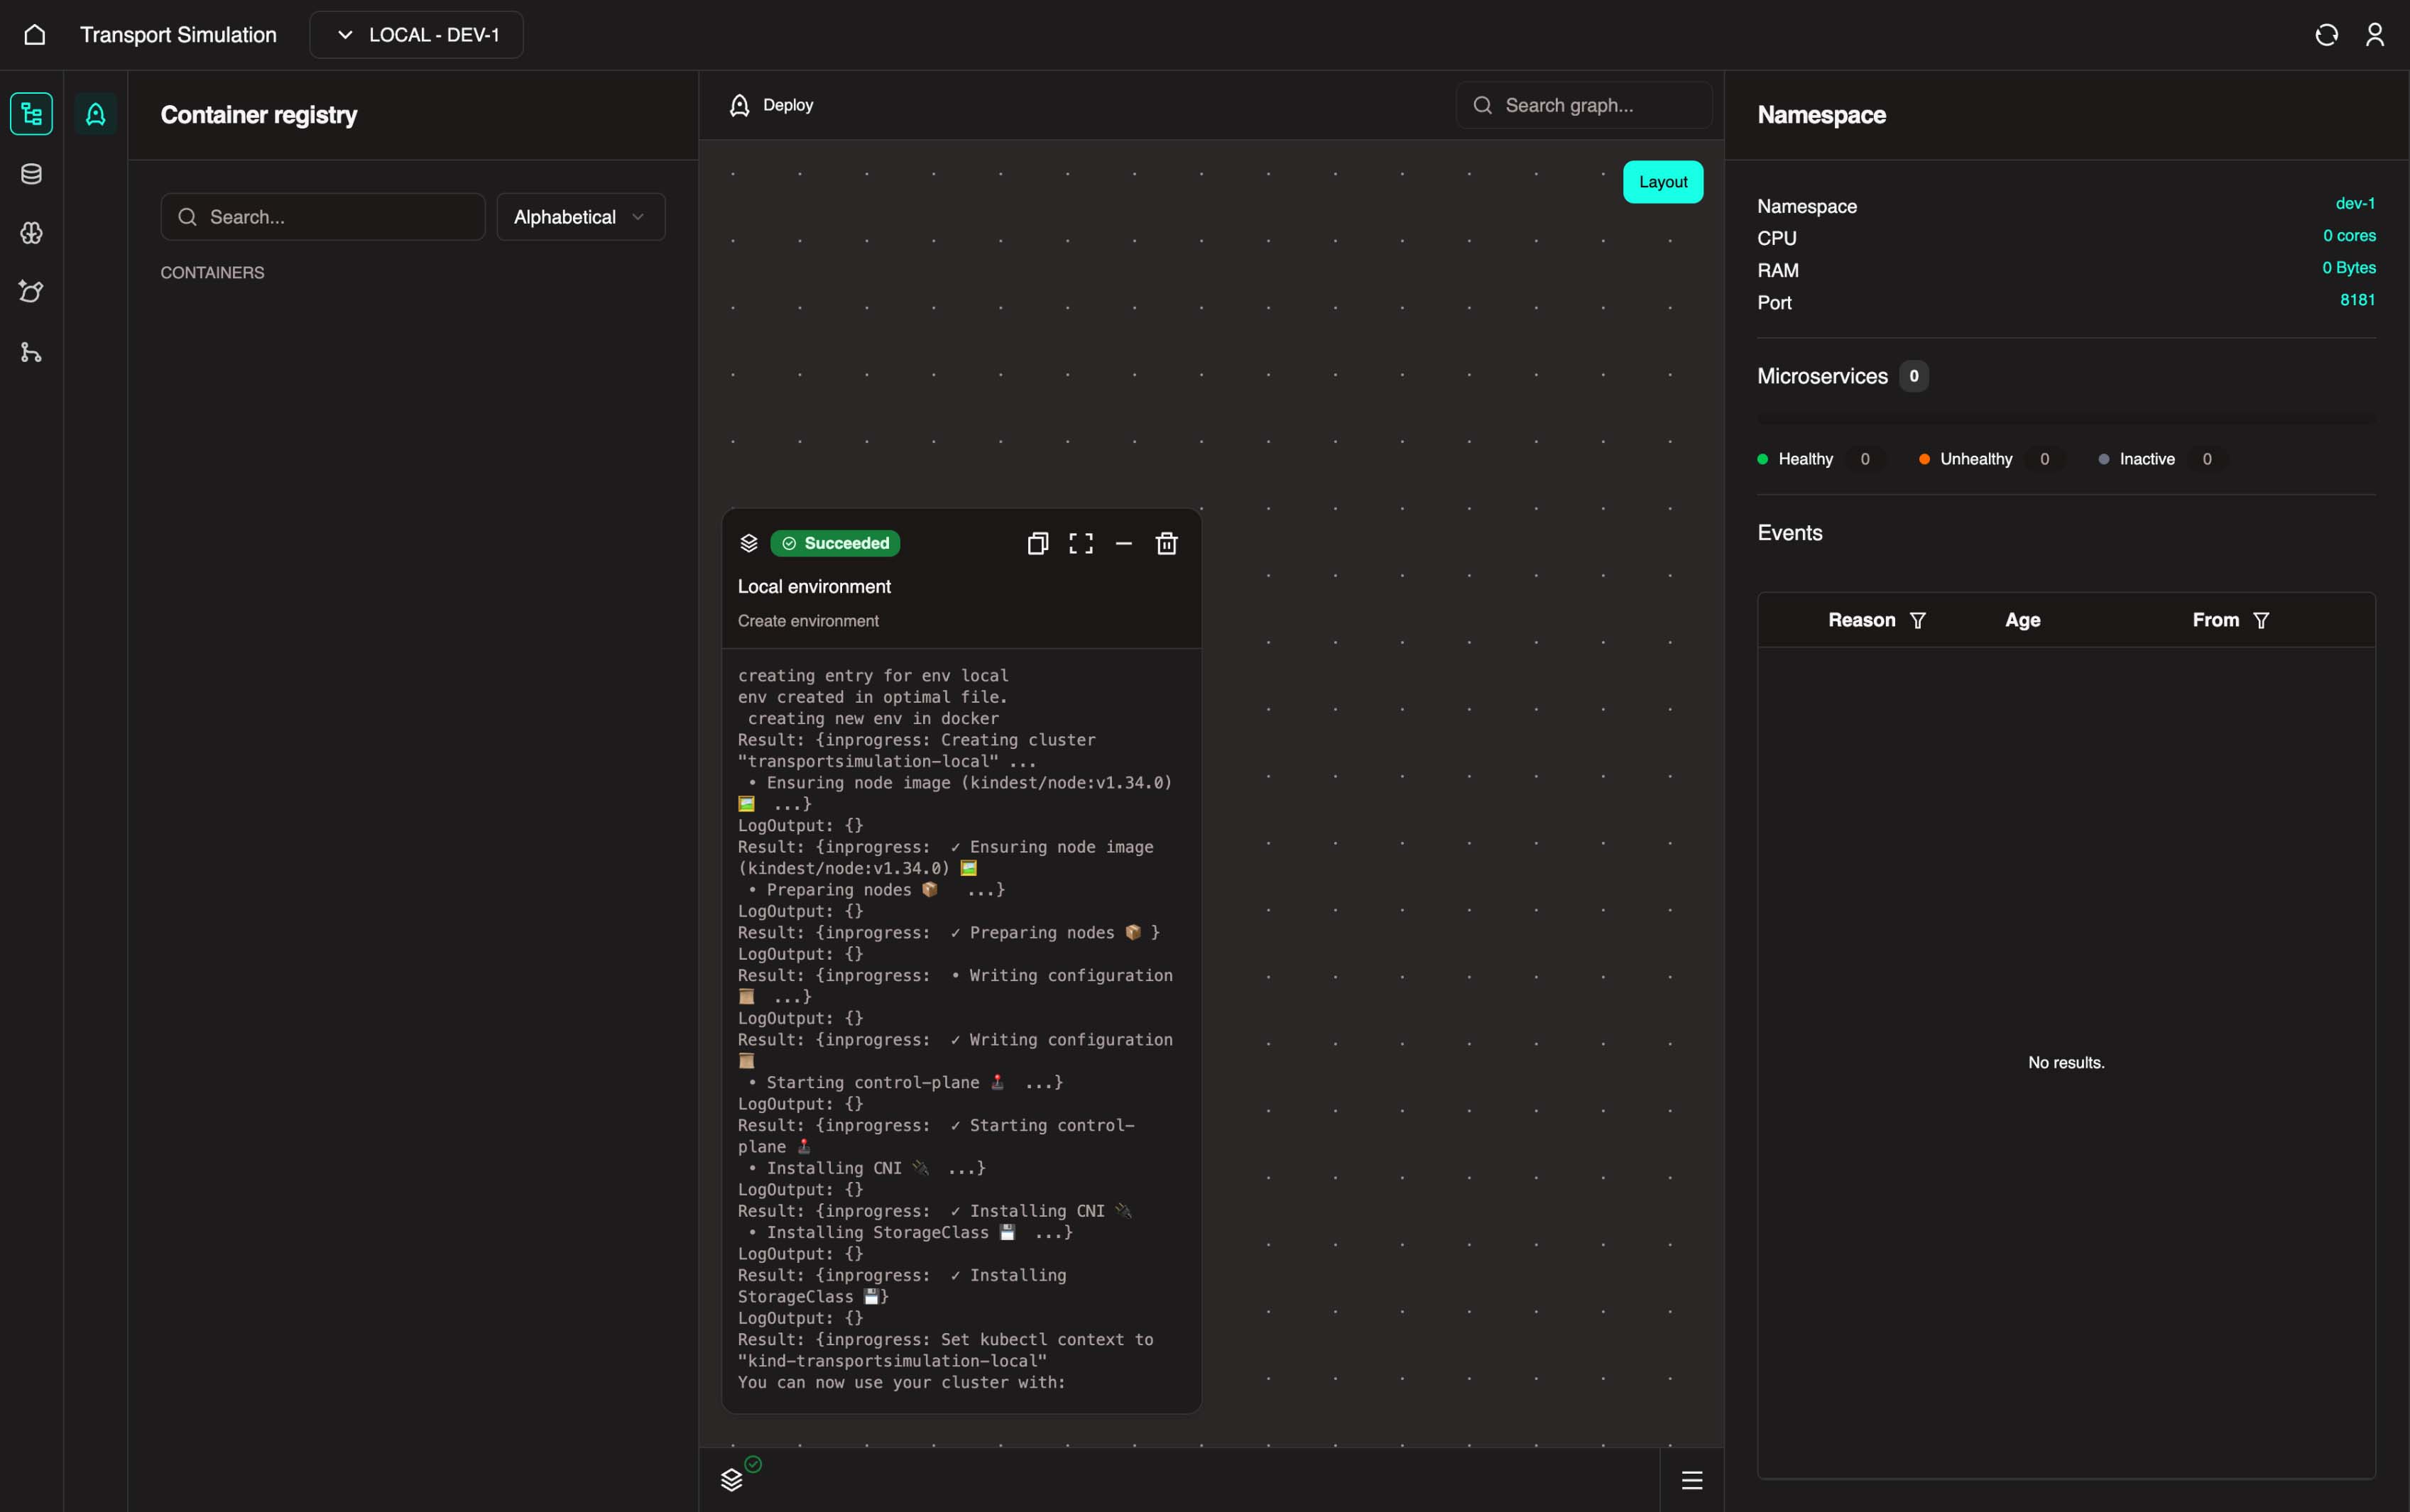
Click the New Project button in the top right corner.
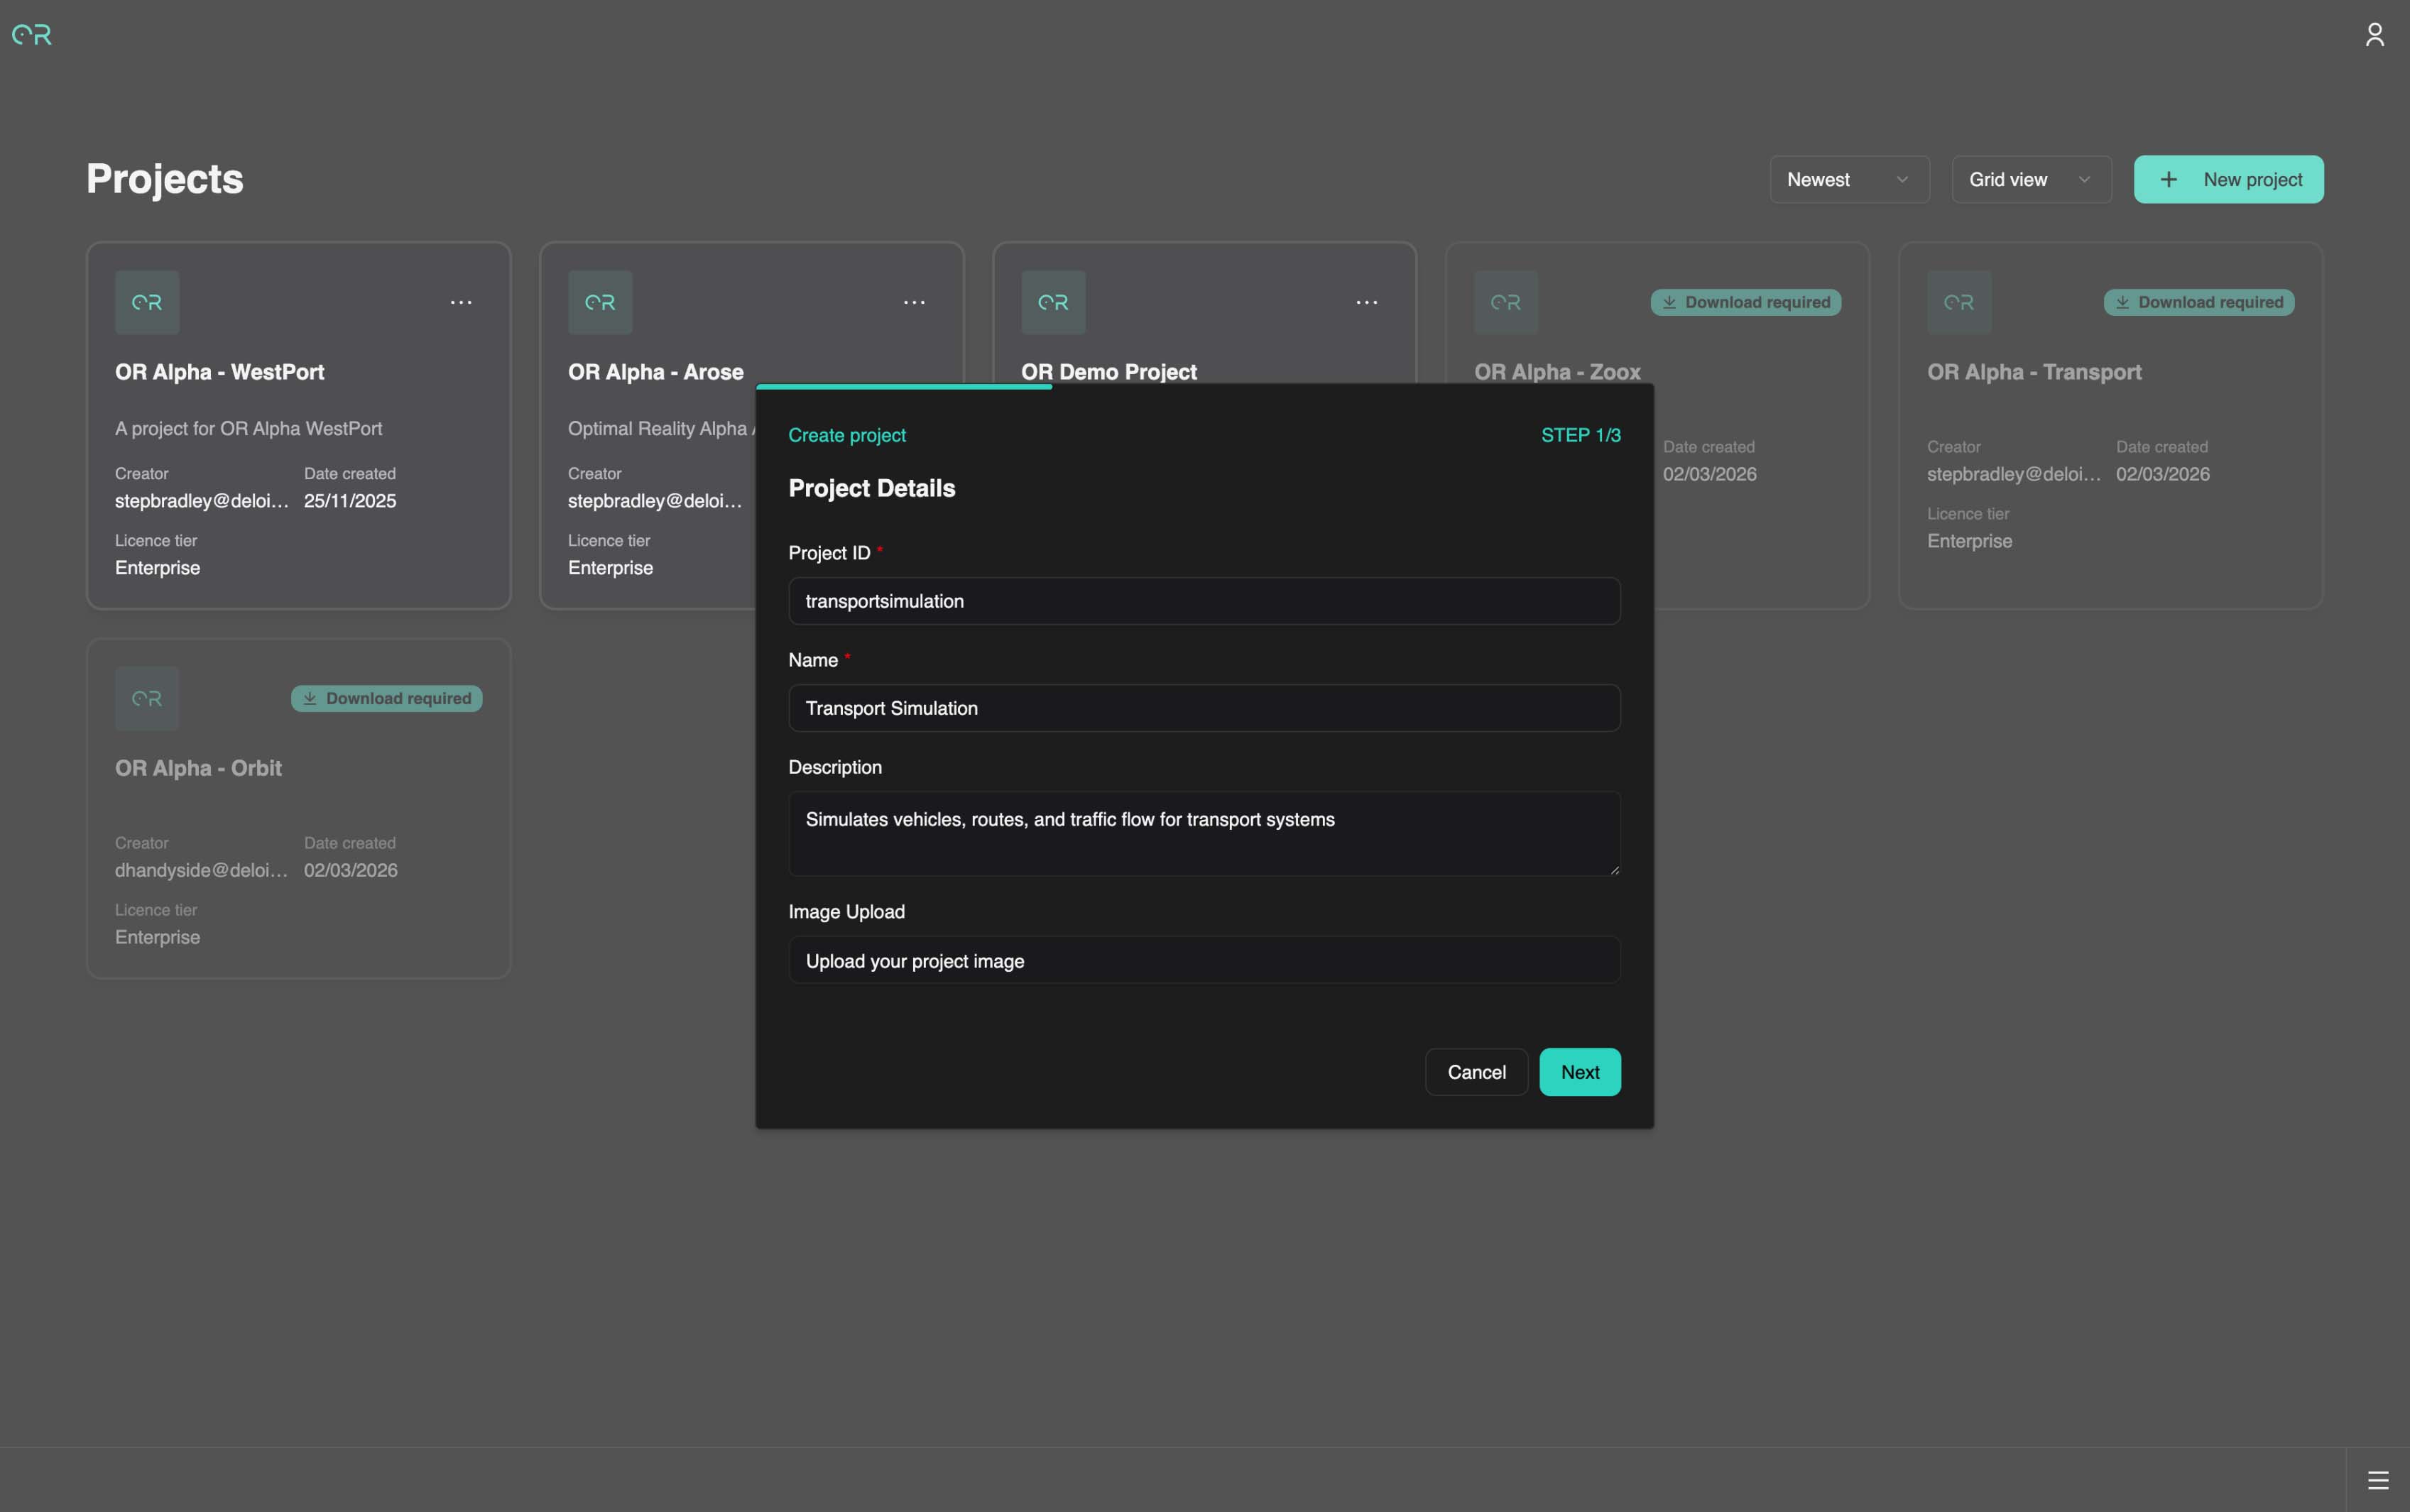
1.2 Enter Project Details
Fill in the required information:
| Field | Requirements |
|---|---|
| Project ID | All lowercase, no special characters or spaces |
| Name | Display name used throughout the SDK |
| Description | Optional |
| Image Upload | Optional (displays on project homepage) |
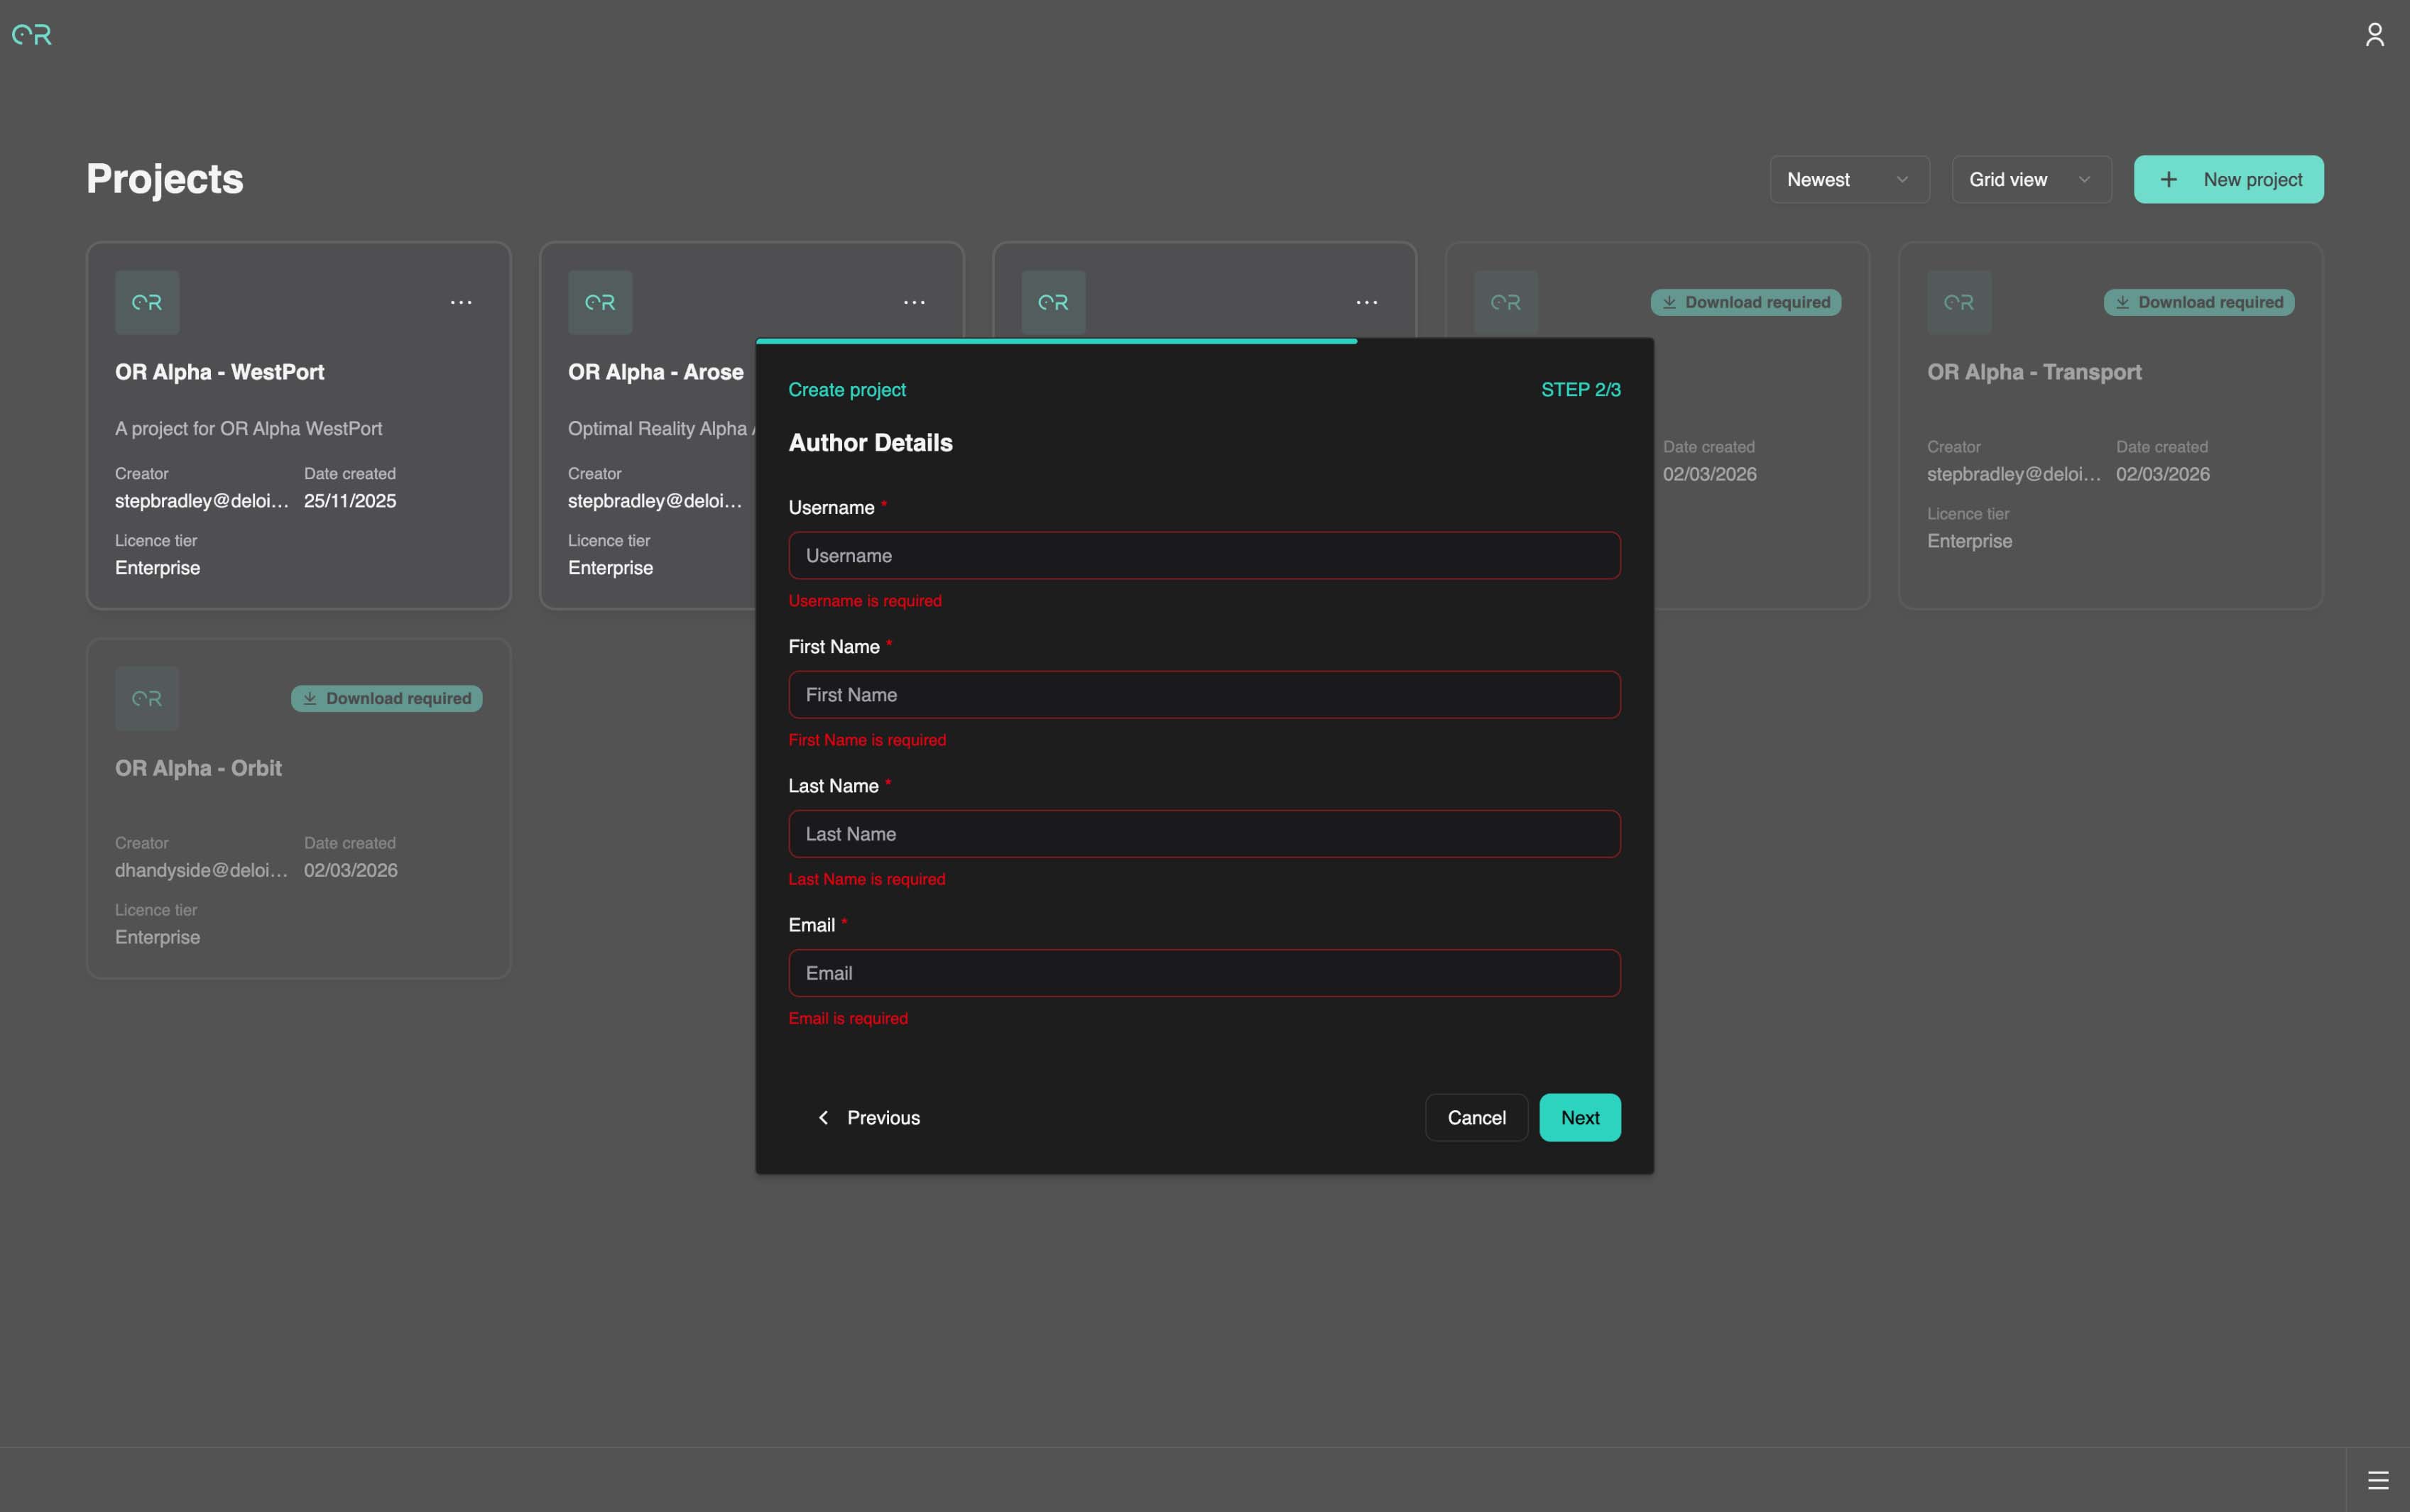
| Username | Auto-filled |
| First Name | Auto-filled |
| Last Name | Auto-filled |
| Auto-filled | |
| Project Directory | Keep the default value |
Important
Note your Project ID — you'll need it later.
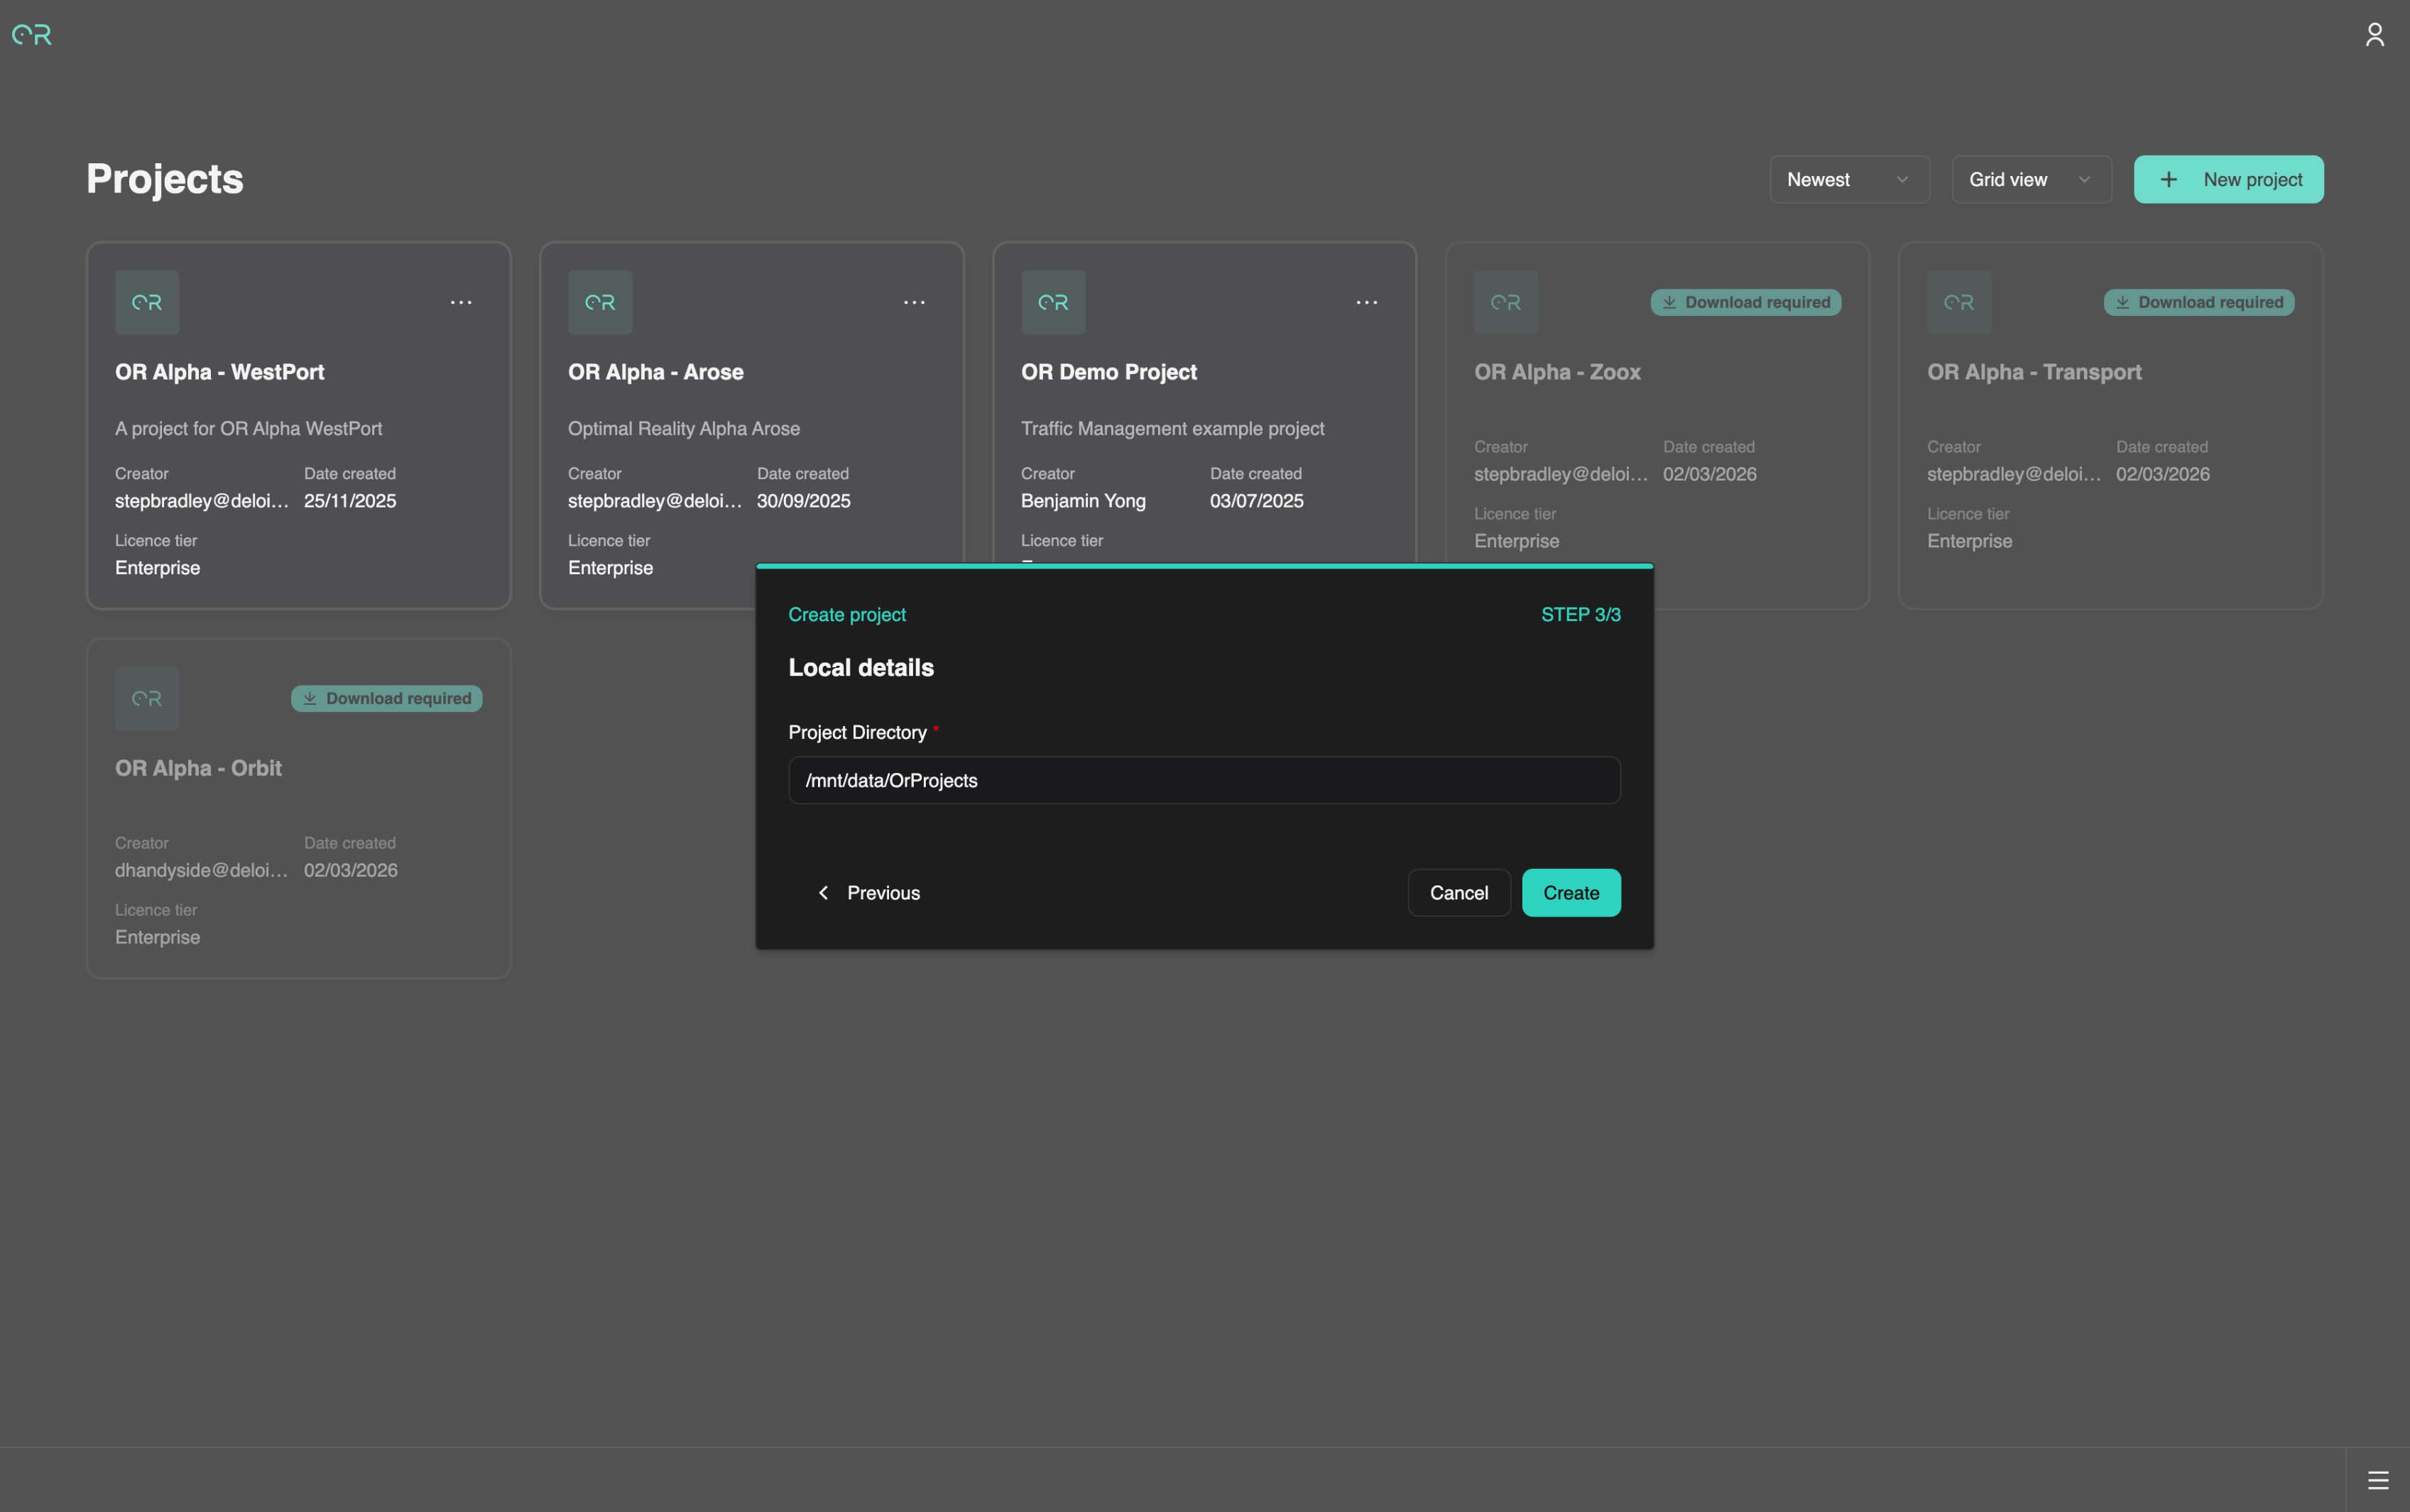
1.3 Confirm and Access Your Project
After confirming the details, your new project appears in the library and is ready for configuration. Click on it to begin building.
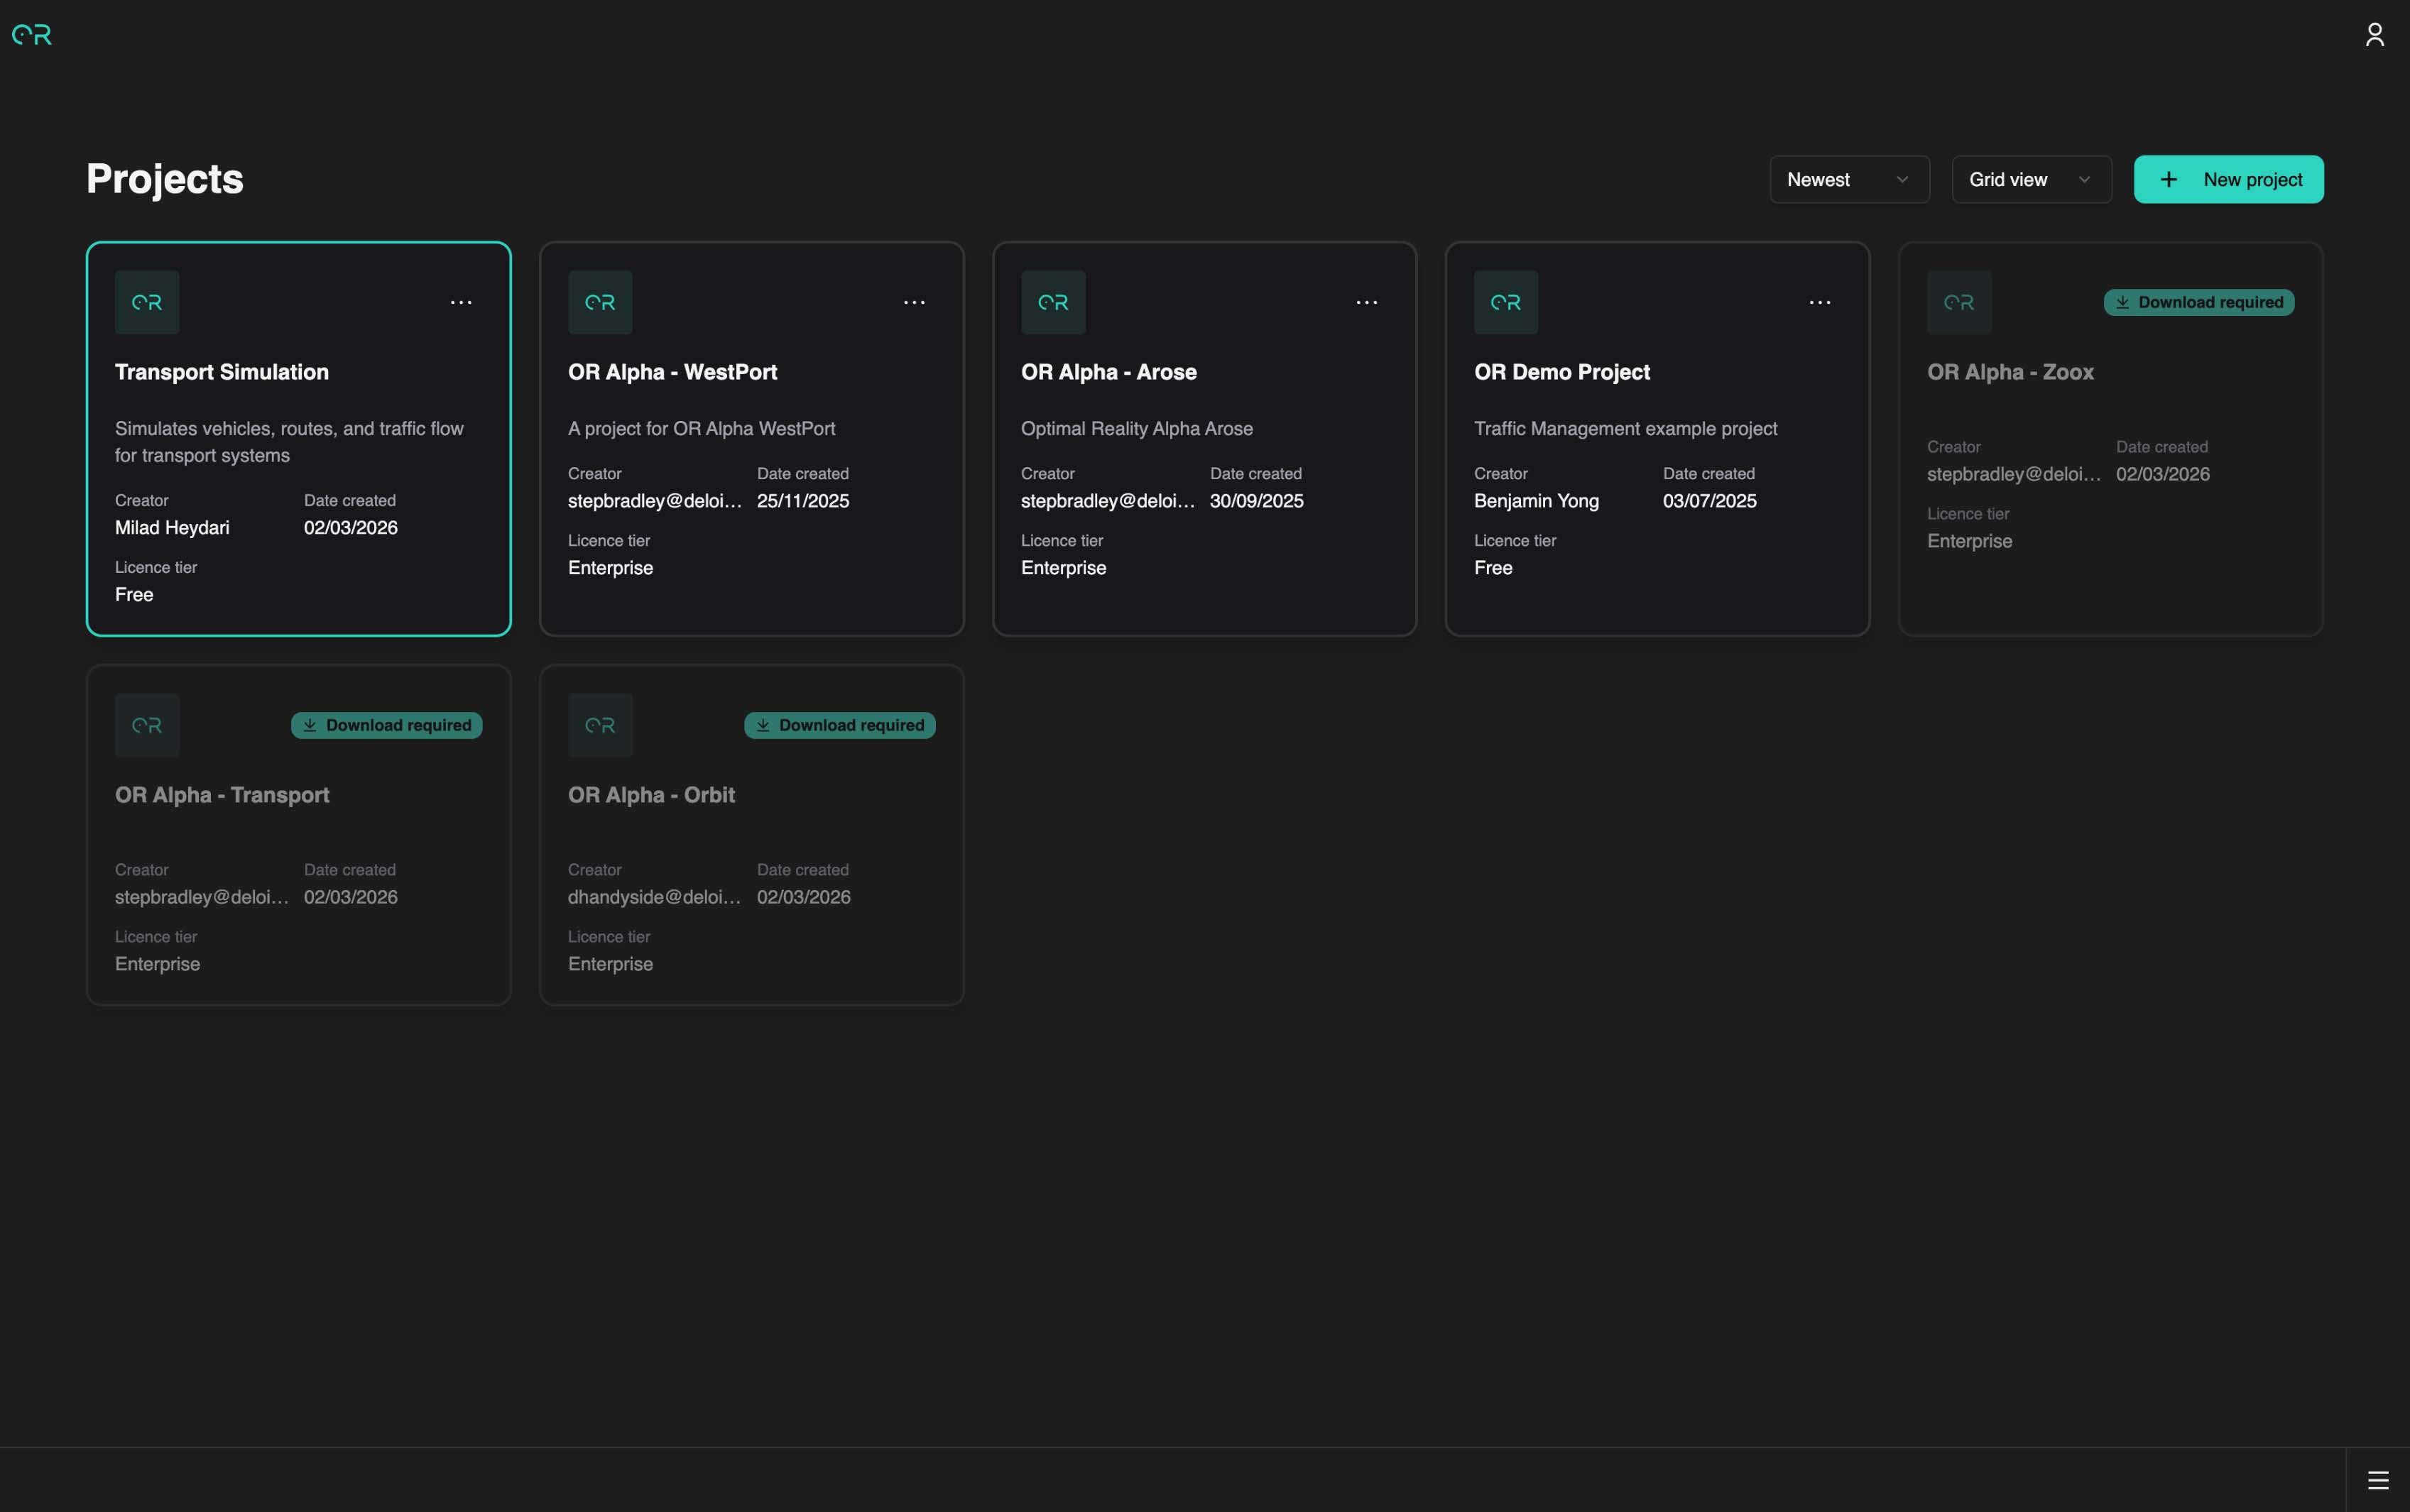
1.4 Enter the Nexus
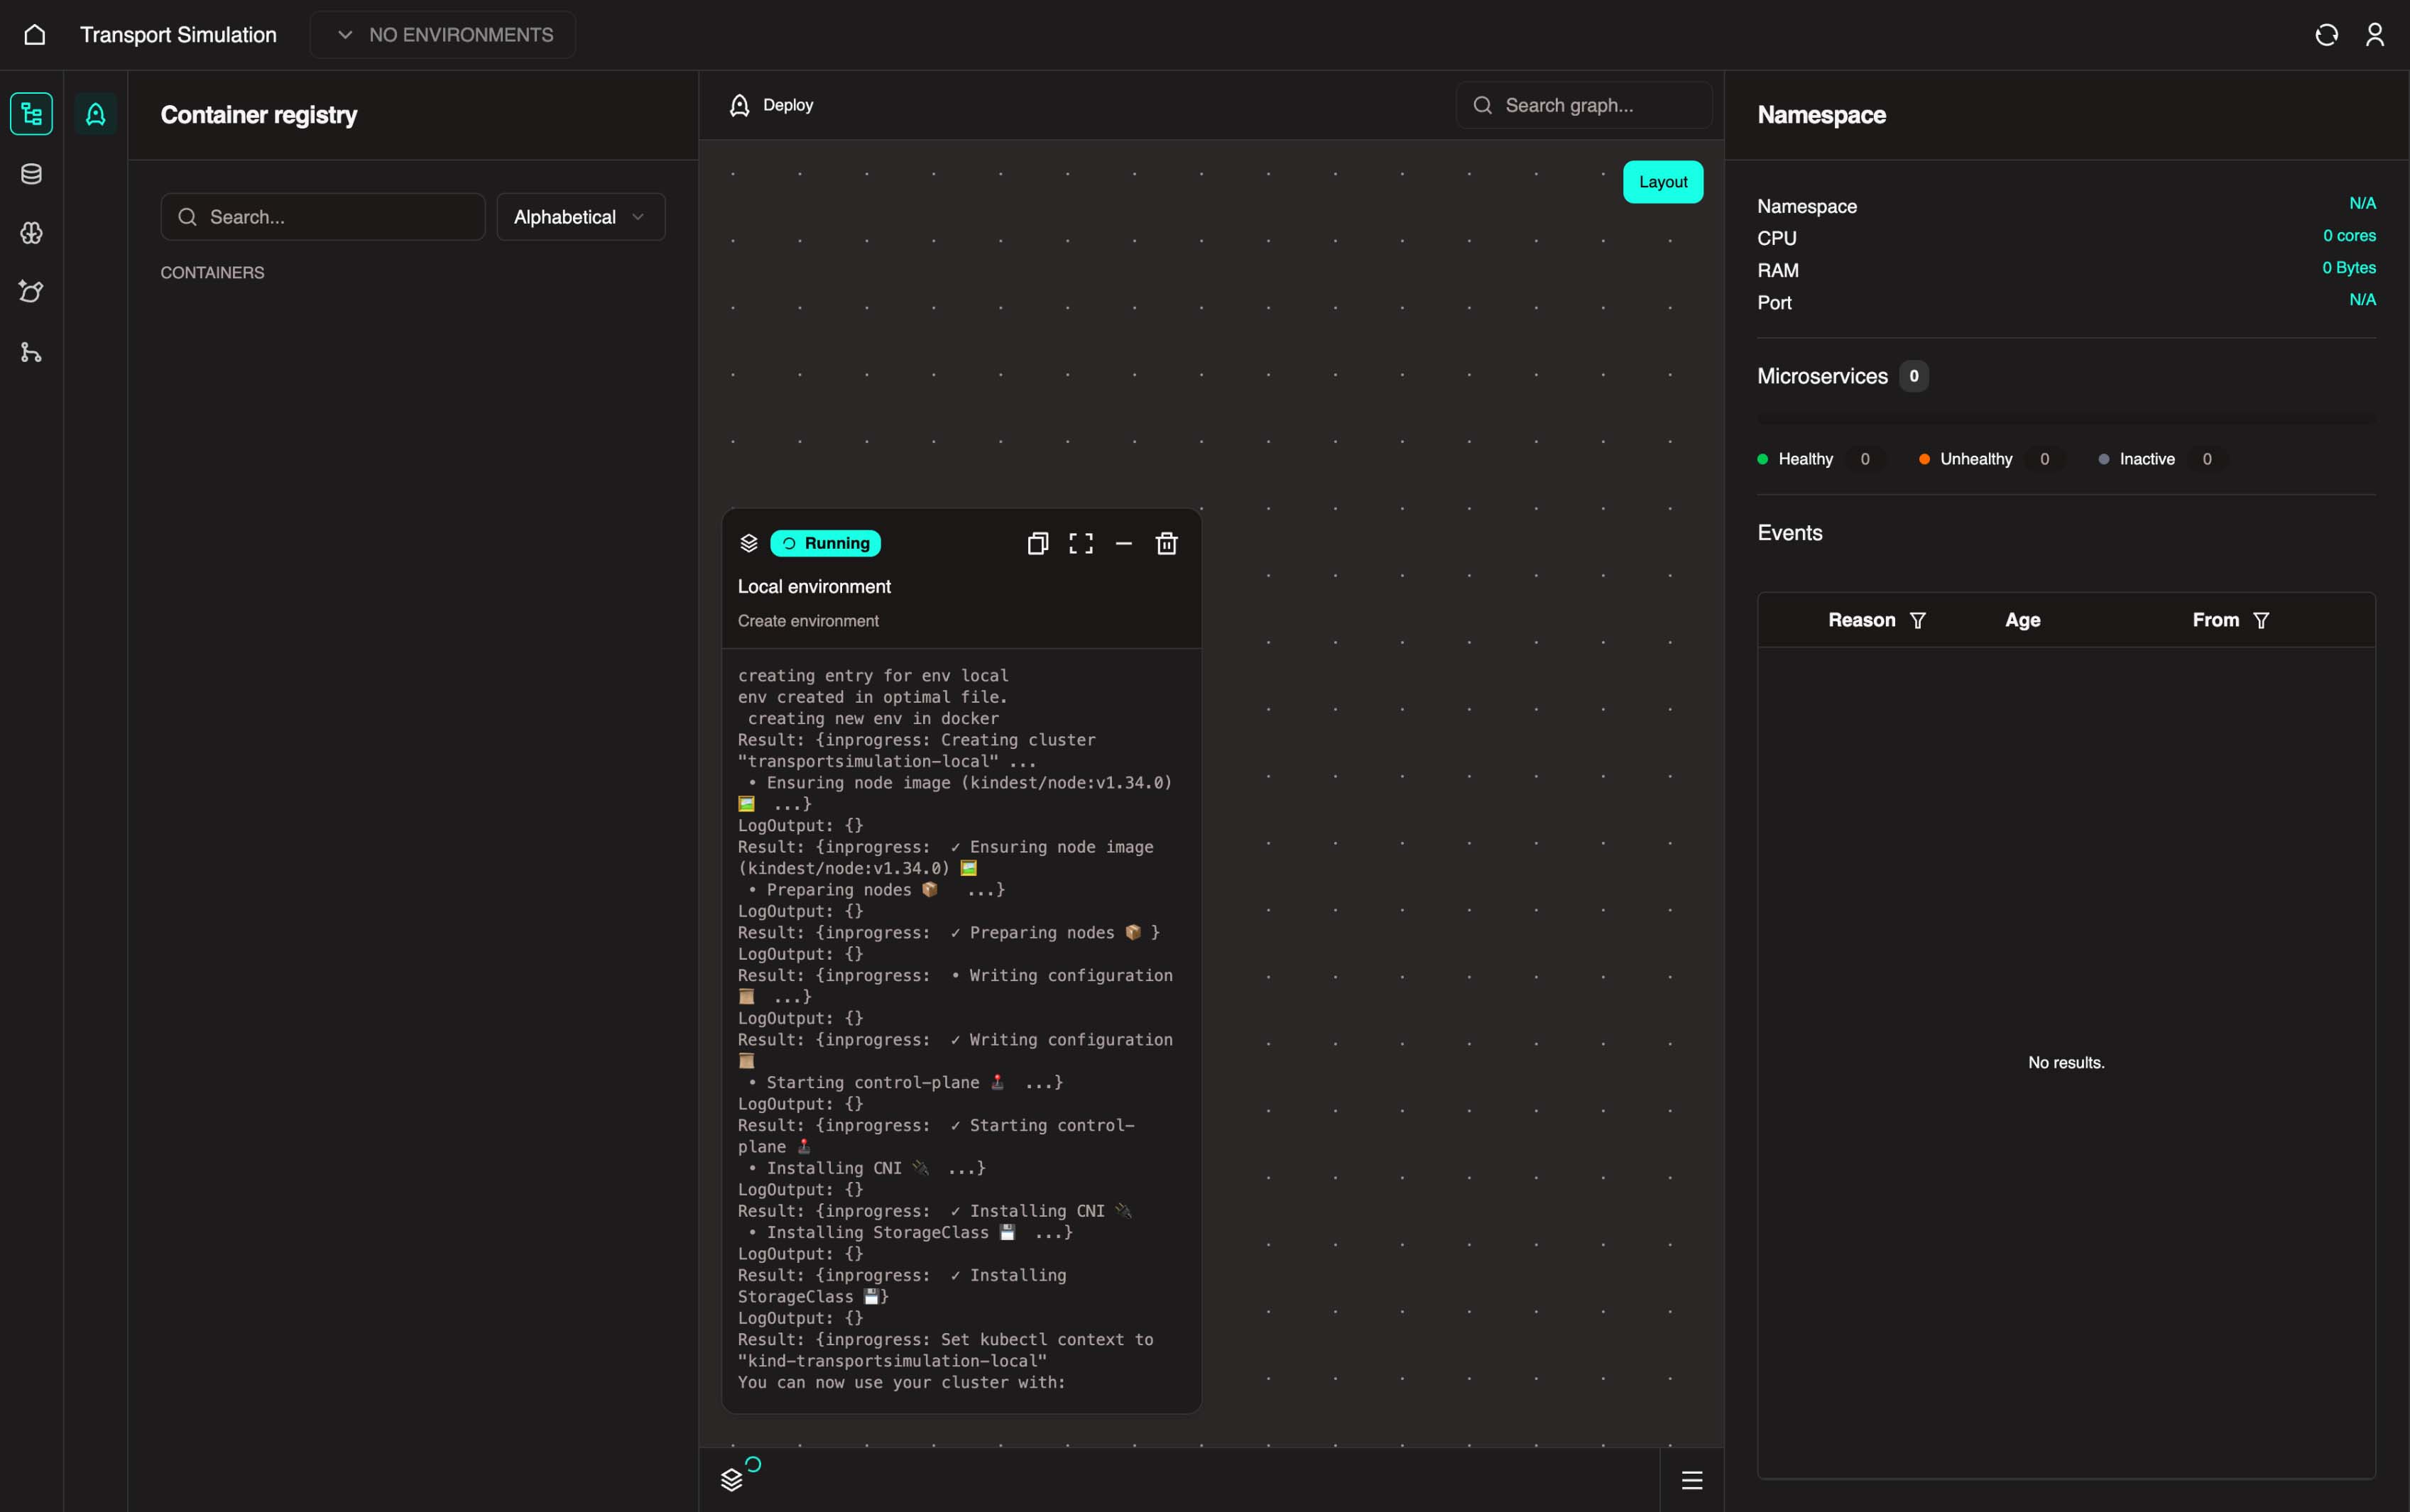
Clicking your project takes you to the Nexus, which creates your local project environment. This may take a few minutes on first load.
What is the Nexus?
The Nexus provides a bird's-eye view of all microservices running in your project. From here you can:
- View, manage, and monitor services
- See relationships (such as database dependencies)
- Access logs, events, and health status
- Configure and deploy applications
1.5 Proceed to the DDK
Once the environment is ready, navigate to the DDK (Data Development Kit) to begin configuring your data schema.
Next Steps
Now that your project is created, proceed to configure your data schema.